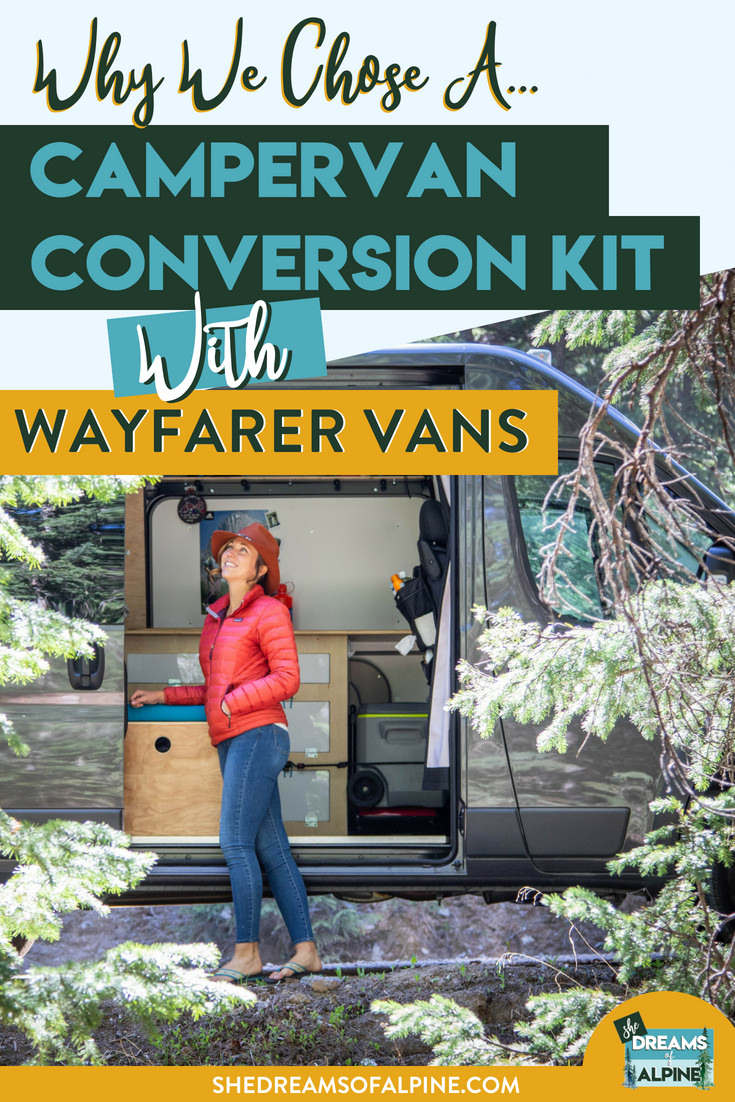
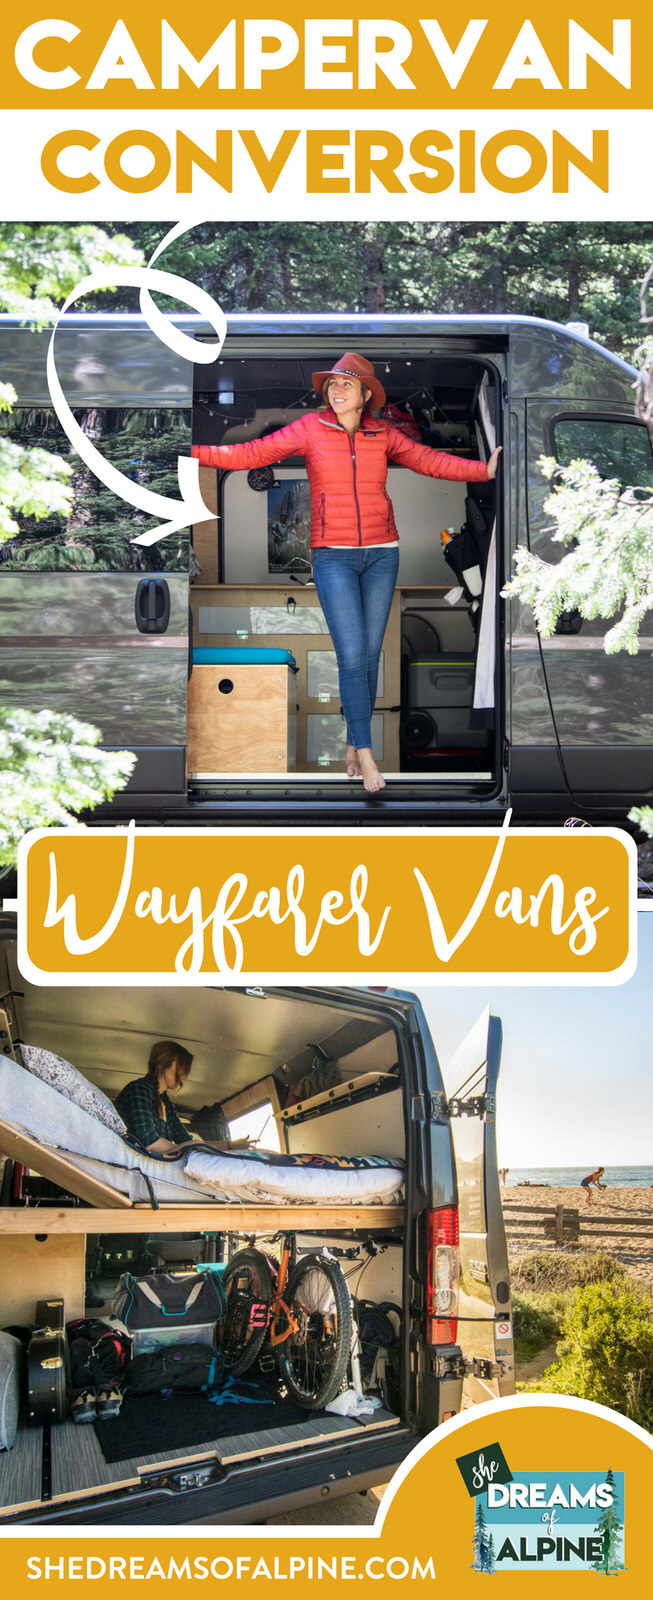
Why We Chose A Campervan Conversion Kit with Wayfarer Vans

If you've reached a point in your traveling and adventuring life (as many of us do) where you are looking for a little more ease or comfort to your travels you might be on the search for a campervan and the perfect campervan conversion kit. Campervans like the Ram Promaster and the Sprinter Van make excellent, low footprint, travel vans, and in the post below we will cover why we thought the Ram Promaster with the Wayfarer Van conversion kit was the best option for us. In searching for a van, everyone will have different needs and desires, so read on to see what we love about this affordable and versatile option.
In this post, we will cover:
Our Search for the Perfect Van
About Wayfarer Vans
How the Wayfarer Van to Camper Conversion Kit Process Works
Installing the Wayfarer Campervan Conversion Kit
Inside Tour of Our Promaster Van Conversion
FAQs About Wayfarer Camper Conversion Kits
Our All-In Cost for the Promaster Van and Wayfarer Camper Conversion
5 Items That Completed Our Wayfarer Promaster Camper
Conclusions
Also please note that, since we loved the Wayfarer Van Ram Promaster Conversion so much, this post is sponsored by Wayfarer Vans. We had no prior connection with their team until we met them for the install in Colorado Springs, and all opinions and thoughts below are my own. Ian and his team have truly been awesome to work on this build-out with, and I am so glad we went this direction with our build-out.
OUR SEARCH FOR THE PERFECT VAN

I remember sitting at my computer in our apartment, it was about one in the morning, and I had literally been searching the web for camper van options for hours upon hours that evening. Michael and I had finally decided to trade-in sleeping in the back of our Jeep and Subaru for a campervan, but as I started searching the web for what options existed for us, I was really disheartened about the choices it seemed we had. It felt like we either had to settle for a van with over 200,000 miles on it, or we had to spend a small fortune to get something new. There were a ton of awesome looking campervan conversion companies out there, but none that really fit our budget. The top end of our budget was just under $50,000, all-in spend, build-out and all.
It honestly made me cringe when I started noticing that finding a van with all of the criteria we were looking for (low mileage, mostly built out already, and under $50k) seemed almost out of reach. We found a couple of vans on craigslist that seemed to fit our criteria, but either we were too late to reach out on the deal, or they were in completely different states and we didn’t want to fly out to see a van, just to find out we were being scammed. Right when I was about to give up on the notion of getting a van anytime soon, I ran across the Wayfarer Van Website and I knew I had finally found what I was looking for.
ABOUT WAYFARER VANS
Wayfarer Vans is a campervan conversion company based out of Colorado Springs, Colorado. The Wayfarer Vans tagline says it all, "Simple, Affordable Campervan Conversion Kits for the Modern Traveller." Their design is well thought out and engineered to meet your needs on the road, whether you are looking for a weekender van or even a van to live in. They are able to keep their costs affordable because they prescribe to a simplified design and easy install process. Sure, it's a minimal van, compared to some of the rigs you can find outfitted on the road these days, but I think that is part of what drew me to it. Less things to break and maintain, affordable, and it looks really professional. Everything works like it should, and it just feels reliable, like it will withstand our constant loading and unloading of climbing and biking gear, but also allows us to customize the van a bit, with time, when we can afford to add more to it. Just what we were looking for.
Ian Horgan is the owner and mastermind behind the Wayfarer Van Company, and has taken his vision of modular campervans to a reality and really created something awesome that was currently missing from the campervan community, an easily installed, ready in a couple hours, affordable campervan. There isn't much else like it on the market. The only other really affordable option out there is DIY, which can take many people months to complete, and while the thought of building out my own van does sound appealing and like a cool learn-something-new opportunity, I knew my time right now was better spent focusing on my other projects and side hustles which are still in their growing phases.
Wayfarer Vans currently provides plug-and-play conversion kits for the Ram Promaster City Cargo/Tradesman and the Ram Promaster 136" Wheelbase, High Rooftop Vans. We wanted something a bit bigger, that could withstand longer trips, mountain bikes, and crashpads (all at once)... and maybe one day even big enough for long term travel, so we went with the Ram Promaster 136" Wheelbase for our cargo van. The City Cargo/Tradesman option though is a really great option if you are looking for a smaller rig that can easily go from city commuter to weekender camper. Read more about the different Van build-out options here on their site.
HOW the van to camper conversion kit process works
Here's how the process worked for us. If you read the first section in this post, you'll know that my search for a van started with frustration, frustration that I couldn't find a campervan conversion that was affordable and met our basic criteria, but then I ran across the Wayfarer Van company. We sent them an email right away, and waited.
My first contact with Ian, Wayfarer Vans owner, below:

He was back in touch with me within only a few hours, answering our questions above, and connecting me with his local Ram Promaster Dealership partner. We didn't have a van yet, and so decided it might just be easier to get one in Colorado Springs, where Wayfarer Vans is located. From this first connection onwards, we had a confirmed Promaster van and campervan conversion date within 8 days of our first email contact with Ian. In a nutshell, here is how the process went for us.
Found Wayfarer Van website, and decided this was the direction we wanted to go
Emailed Wayfarer Vans to get process started
Worked with local Ram Promaster Dealership in Colorado Springs to coordinate and put a deposit on the van that we wanted
Picked out the flooring and cushion fabric color for our build-out
Planned a date to fly out to Colorado and pick up the Van
Wayfarer Van's did the install the day before we picked up the van
We picked up the van at the Promaster Dealership, fully built-out already
Drove back home to California.
The whole process was so painless, I can hardly believe it. The Wayfarer Van build-out took only a couple of hours to install the day before, and it was already ready when we showed up at the Ram Promaster Dealership in Colorado Springs. Before we headed back home to California, we made sure to stop by the Wayfarer Van Office to meet Ian and talk to him about all the van build-out features and ask him any final questions we had.
Already have a Promaster? That's fine too! Installs only take a couple of hours, and you can bring your empty cargo to Colorado Springs to be transformed quickly by Ian and his Wayfarer Van Team.
INSTALLING THE CAMPERVAN CONVERSION KIT
Below is a video from Wayfarer Van's Youtube Channel showing the build-out process on the Promaster. Definitely be sure to check out Wayfarers channel for more cool walk-through videos on their van conversion kits and special features.
In a nutshell, here is how the campervan conversion installation process goes:
STEP 1) INSTALLING THE FLOORS
The first step in the conversion is installing the floors. The flooring is made out of sturdy material and is water resistant. It is insulated with Reflectix® underneath and attached to the van with threaded bolts and includes integrated cargo management tracks for securing all your gear. When we did our build-out, Ian gave us two flooring options to choose from. The options were called “Euro Grey” and “Wood”. We ended up getting the "Wood" option, and I really like it. It does a fantastic job of disguising dirt... which we inevitably bring in on a daily basis when using the van.
STEP 2) ATTACHING THE WALL AND CEILING INSULATED PANELS
This part is really brilliant. The soft insulating panels for some of the smaller areas within the van is easily installed using magnets! And the wall and ceiling hard sided panels are bolted right to the van using their custom-made brackets and include a 100% natural Wool insulation; all of this provides excellent insulation to keep the van warm and is also good at dampening sound. If you have side and rear windows, they will also make you fabric insulated panels to cover those up as well for when you are sleeping (warmth and privacy)!
STEP 3) INSTALLING THE KITCHEN AND BOXES
The Kitchen Area comes with space for two 5-gallon tanks for a freshwater and gray-water system that pumps up through the sink. There are 3 storage components, and they are all deceivingly spacious! At first I thought it wouldn't be enough room for a longer trip, but now I'm convinced that this would be sufficient even for living in the van. There is also an extra storage box on the side of the van that doubles as a seat. This makes for a great space to keep pantry items and food, or any other gear you may want more accessible.
STEP 4) INSTALLING THE BED & SHELVING
Finally, the bed platform and shelving is installed. The bed is up high, which is perfect because it allows for a lot of extra storage space under the bed. We recently took the van on a 10 day trip through Utah and Colorado and were able to fit 2 mountain bikes, 1 bouldering crash-pad, a backpack full of sport climbing gear and rope, and more all into the back of the van. Incredible.
We really appreciated the Wayfarer Van Teams attention to detail, and making a "plug and play" campervan conversion kit look like a beautiful customized van. We've already received a ton of compliments on our Ram conversion van build-out.
Inside Tour of our Promaster Van Conversion
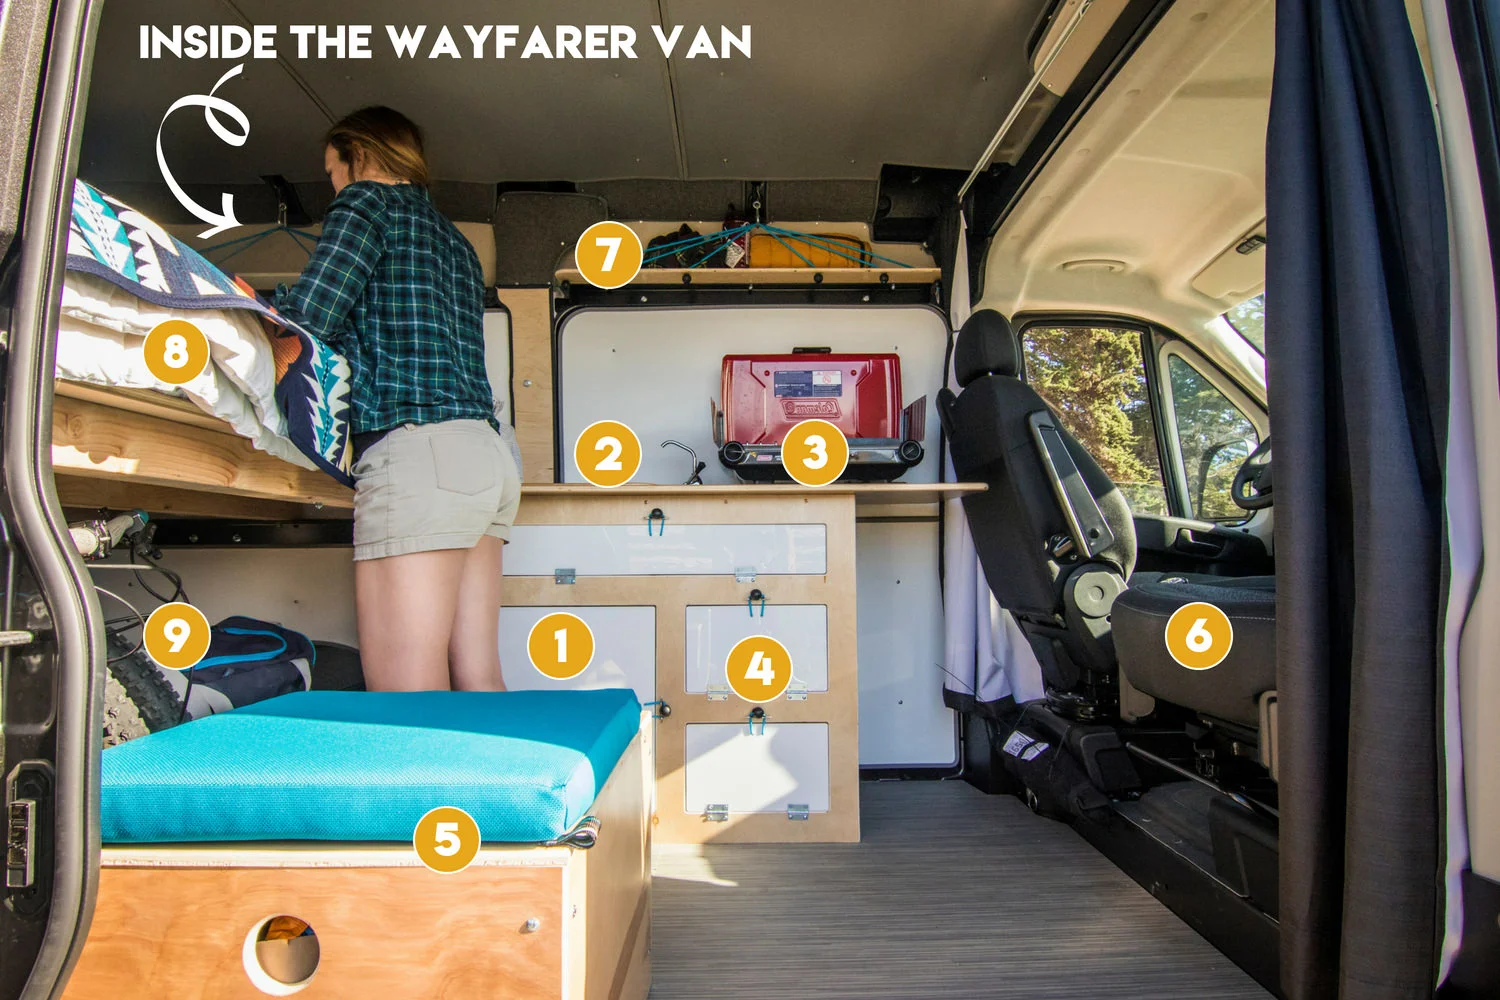
1) Two 5-Gallon freshwater and gray-water tanks: Under the sink you'll find a 5 gallon tank for your freshwater and a 5 gallon tank for grey-water. We find that this amount of water is usually perfect for a weekend trip. For longer road trips we usually pack an extra 5-gallon tank for good measure. Ian suggests marking your grey-water tank so that you don't accidentally mix them up!
2) Pump Sink with Cover: As part of the kitchen set up there is a simple sink (that drains into the grey-water tank) with a pump system set up. When not in use, cover it up and you have extra counter space!
3) Tabletop Space for Cooktop Camping Stove: The remaining counter space for the kitchen area has enough room for a camper stove (not included), and can double as a work table if you have a swivel chair in the driver seat side!
4) Storage Space for Cooking Utensils and More: The storage areas under the kitchen counter space are surprisingly spacious. We have had no issues fitting various amounts of pots, pans, and utensils in them to fit our needs. On longer road trips we keep our gas for the camper stove in the top drawer, and we keep all of our cleaning supplies under this sink with the water tanks.
5) Side Storage Box / Extra Seating: This side space can be used for whatever you need. We have used it as pantry storage, which is especially useful when we travel with our dog because he can't get into it. It's also useful for storing things you want to have quicker access to. The seating area is also a great stepping stool for our small dog to get onto the bed.
6) Swivel Chairs: Getting swivel chairs in the van was high on our list. This isn't technically part of the Wayfarer build-out, but we were sure to buy a van that had these seats in it because it really opens up the amount of seating we have when we are relaxing in the back of the van. Wayfarers build-out by the kitchen allows for leg space under the table if you have this feature.
7) Shelving with Bungee: We love the simple shelving system in the van with the bungee cords and carabiners. It gives it a cool "rock-climbing" gear look, but is also really practical for stuffing blankets, jackets, and even books behind it.
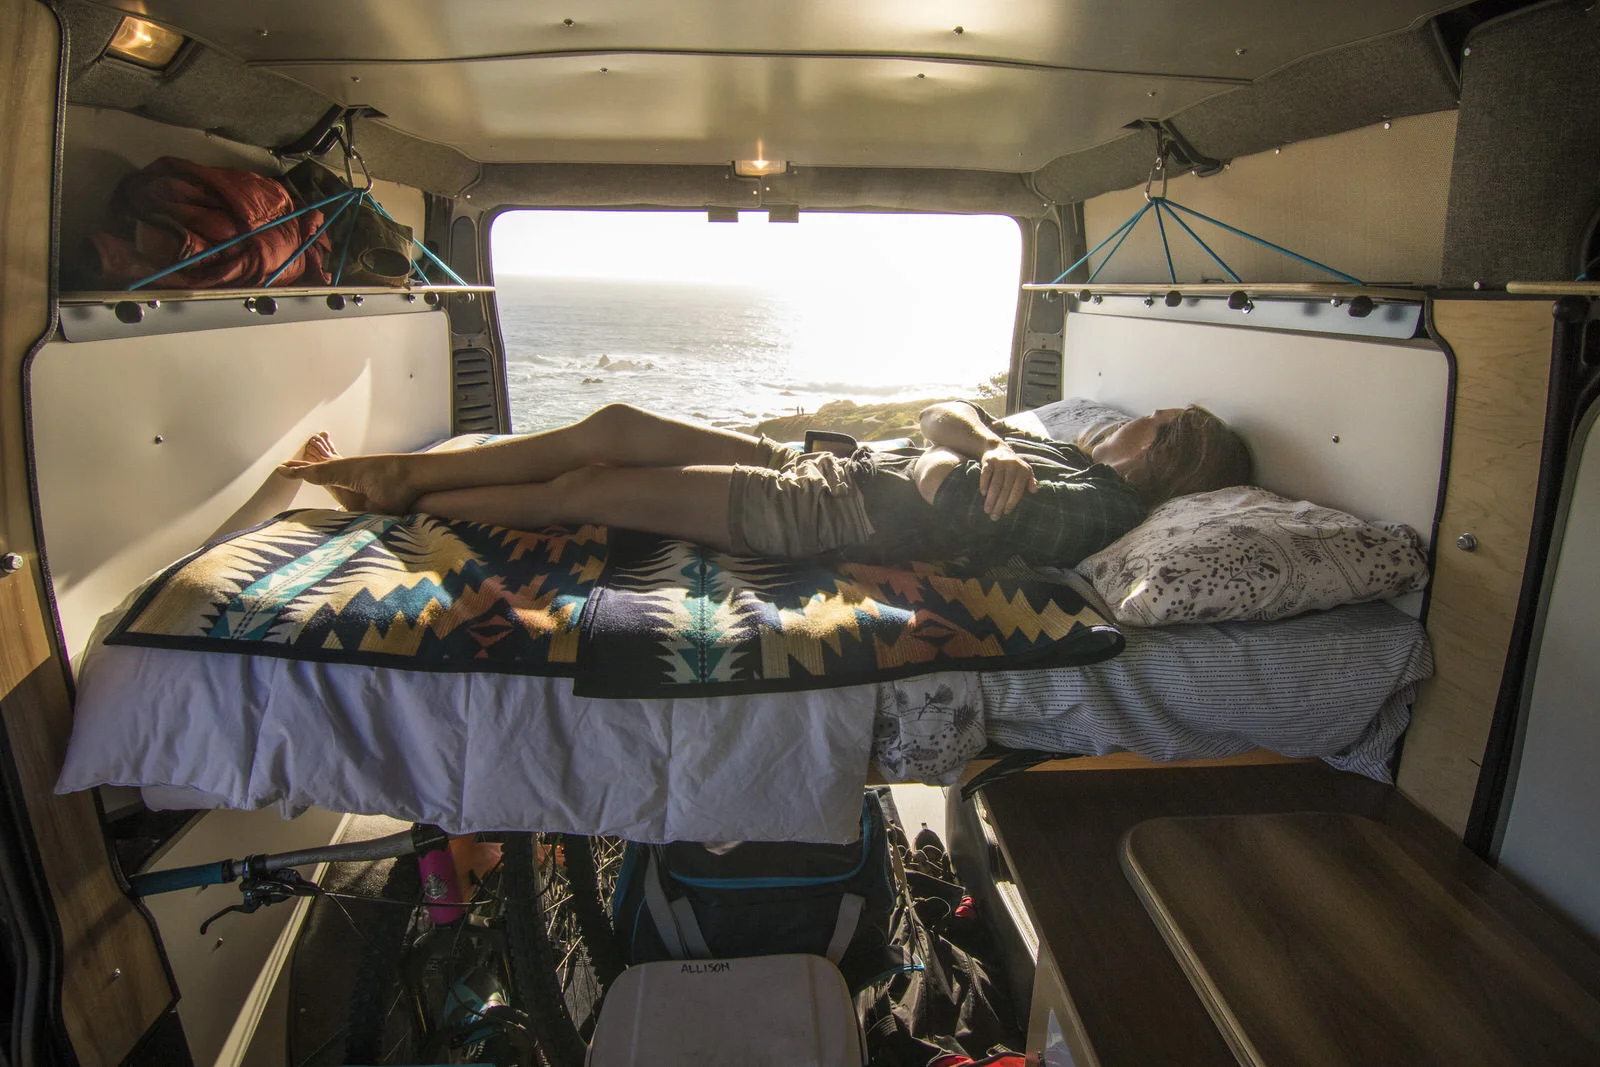
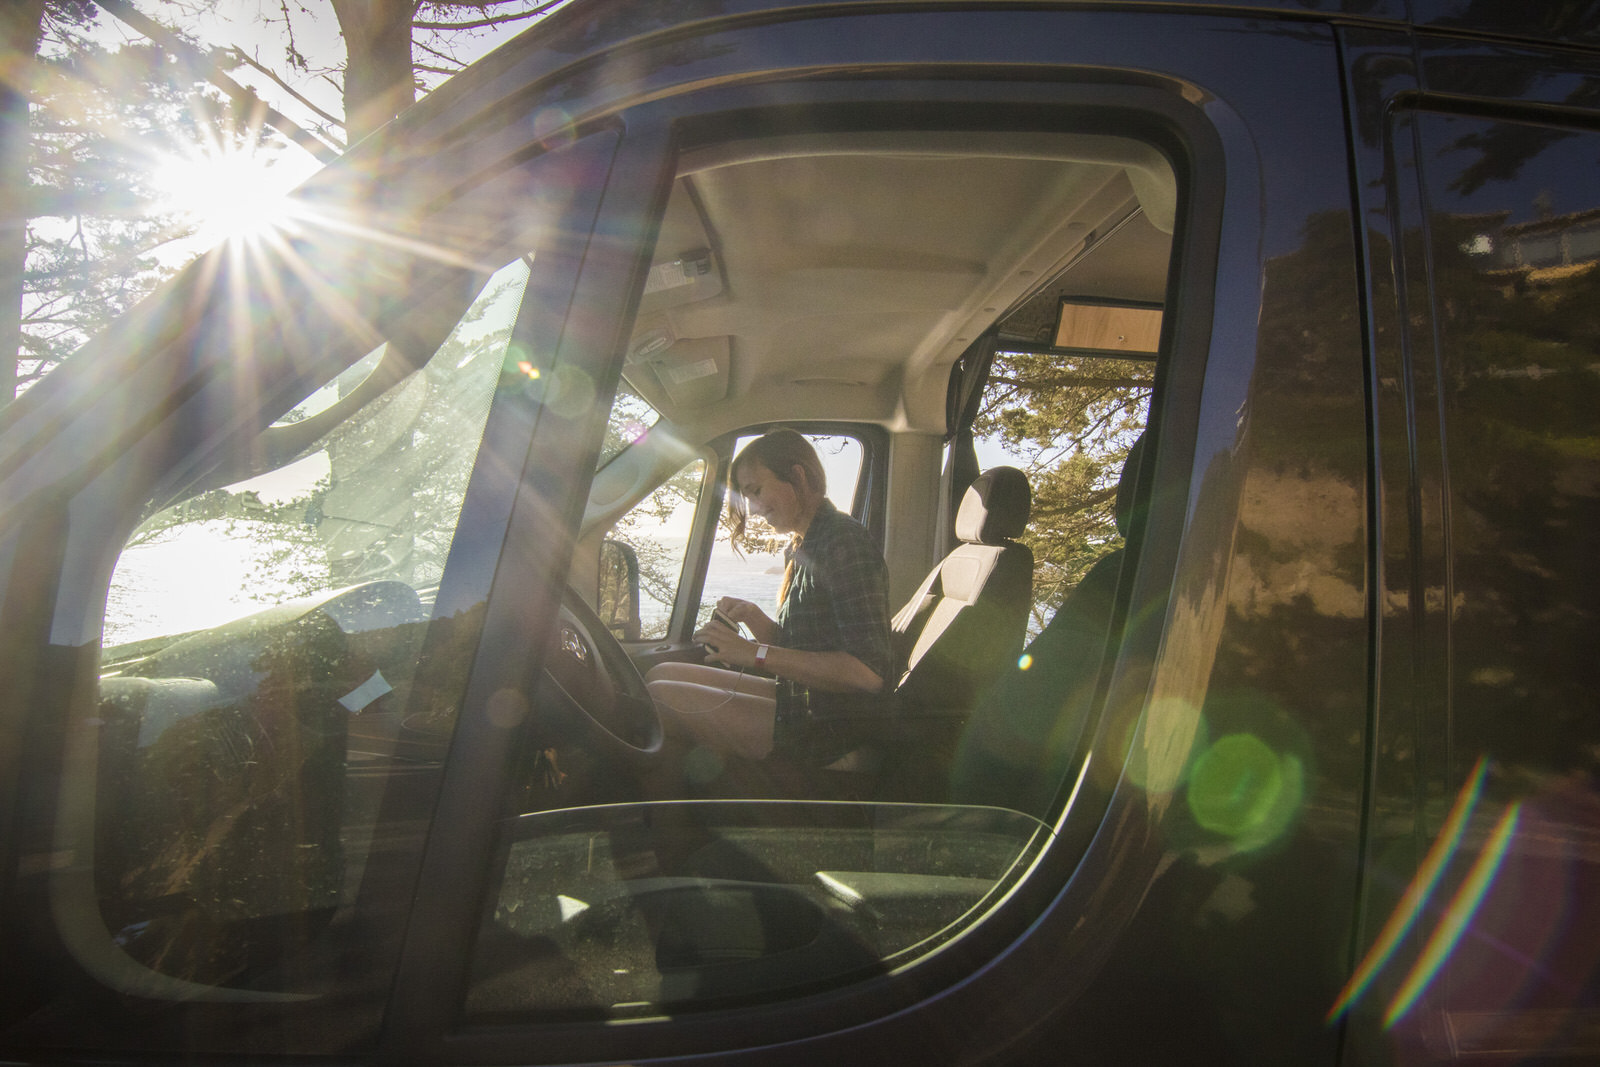
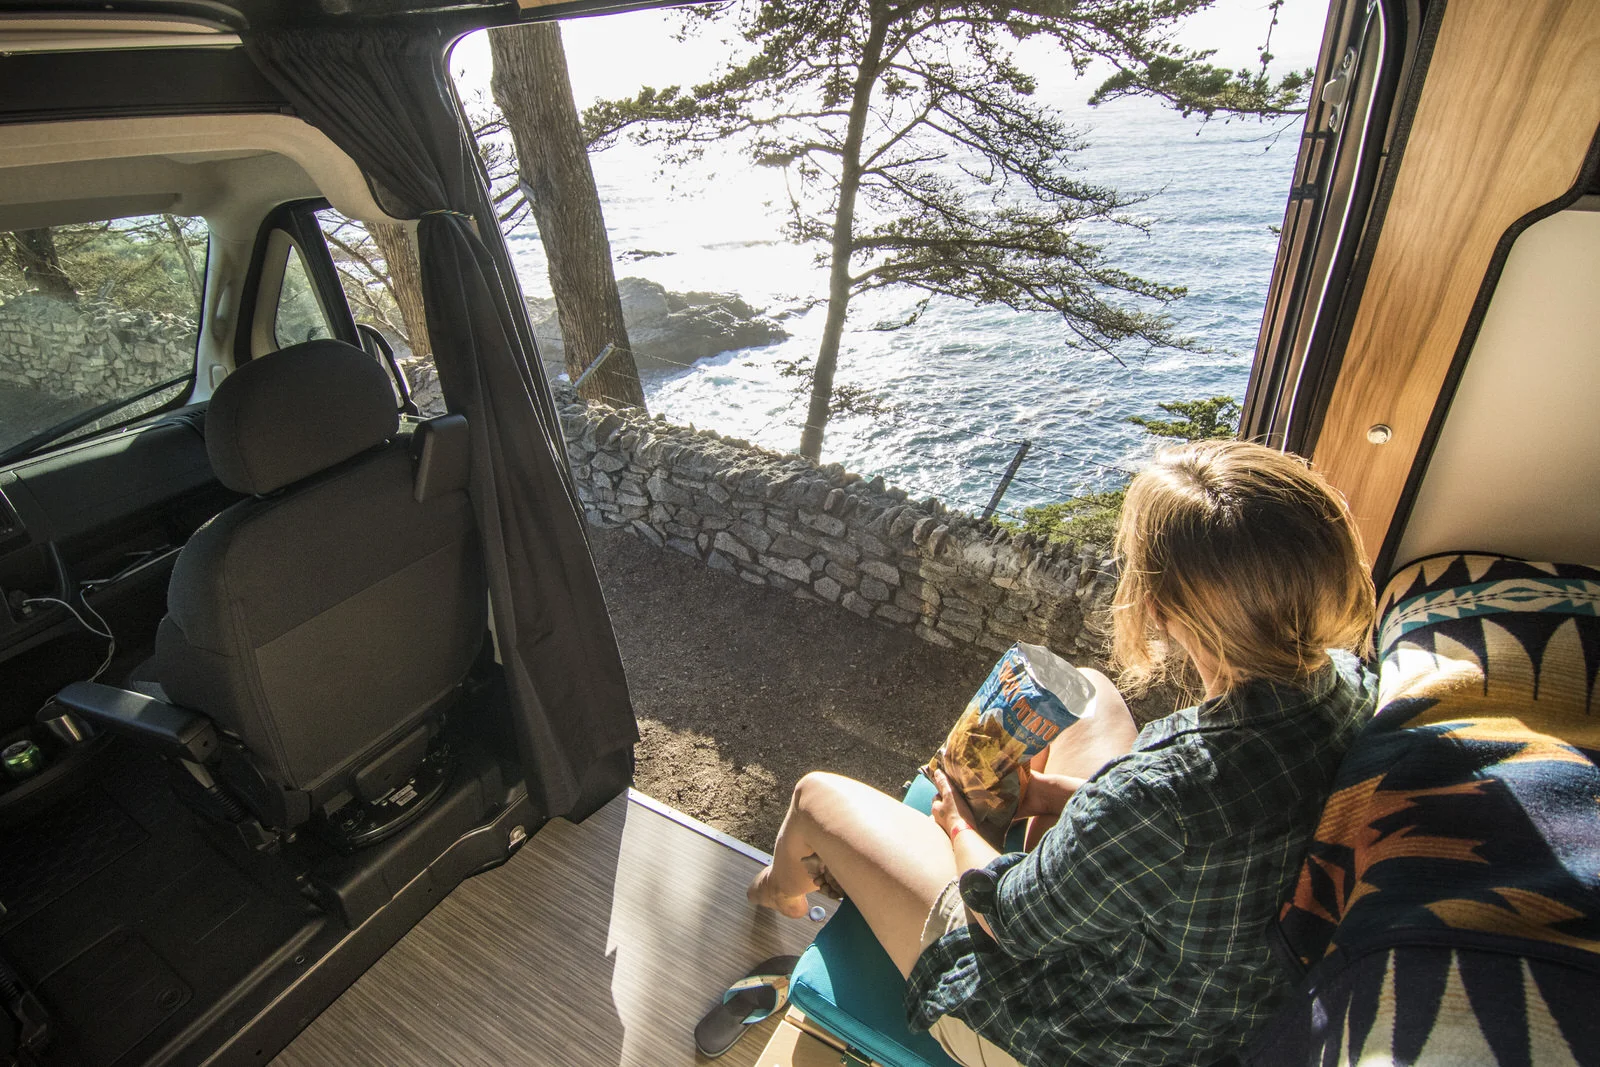
8) Bed Platform Transforms into Relaxing Reading Area: One cool feature in the Wayfarer Van bed is that the head area has the ability to be raised up so you can "sit-up" in bed and comfortably read a book or work on your computer (if you wish to do so).
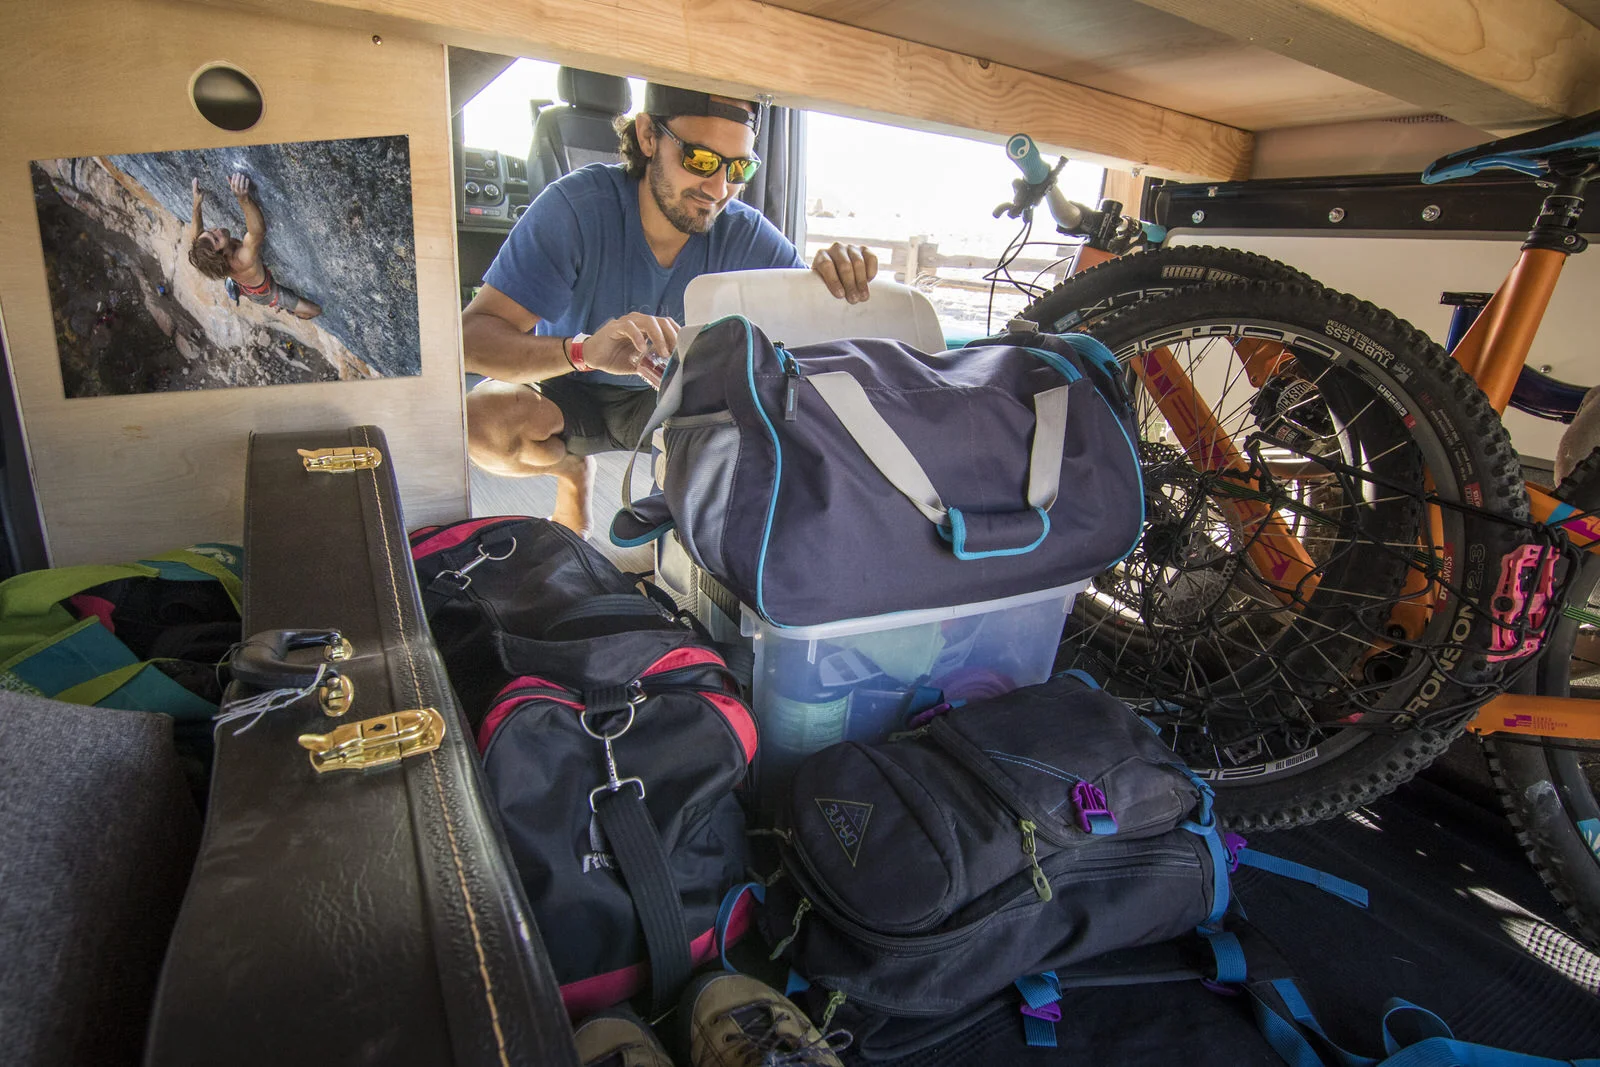
9) Storage Space Under the Bed: This was one of our biggest desires in a van build-out. We wanted space! We wanted to be able to fit our mountain bikes, climbing gear, ice chest... everything... in the back without having to play musical gear every time we went somewhere new. Our wish was granted. We can easily fit all the gear we mentioned above (and then some) in the open storage layout under the bed. Sometimes simple is perfect. We have considered adding in a sliding drawer feature in the back to allow for easier access to loading and unloading the bikes, but Michael's bike is giant (27.5" wheels) and just barely fits in there with the front tire off. My bike with it's 26" wheels, fits just fine.
10) Insulated Window Covers: Last, but certainly not least, we really love that the back and side windows were all fitted with insulated window covers. It really provides a lot of extra warmth in the van at night and provides great privacy.
GRAB MY [FREE] OUTDOOR BACKPACKER STARTER KIT:
I created the Ultimate Outdoor Backpacker Starter Kit for you (and it's FREE)! This starter kit is filled with 14 pages of my best hiking and backpacking tips to help you learn what it takes to become a safe, confident, and self-sufficient outdoor backpacker!
FAQ'S ABOUT WAYFARER VAN Camper Conversion Kits
We had a few questions before we bought our Wayfarer Van build-out and assume you might too. I included a list of the questions I asked Ian over email before we purchased the van and conversion kit. This is by no means a comprehensive list of FAQs, to see more, check out Wayfarers FAQ page.
>> Does Wafarer Vans have conversion kits for other vans besides the Ram Promaster? Right now they only have campervan conversion kits for Ram Promaster City Cargo/Tradesman and the Ram Promaster 136" Wheelbase, High Rooftop Vans, but when we chatted with Ian at his shop in Colorado Springs he said to stay tuned for future van model conversion kit options. So I take it that they have some future options becoming available in the future!
>> How much will a wayfarer van build-out cost? You won't find many campervan conversion companies out there that can compete with the affordability of a Wayfarer Van. You can find full details on Wayfarer Van pricing on their website, and while pricing may change with time from writing this article the prices are currently as follows:
$8,795 for the build-out on the Ram Promaster 136" Wheelbase, High Rooftop Van (This is what we have!)
$4,696 for the build-out on the Ram Promaster City Cargo/Tradesman
You can also buy some of their items separately, like the flooring or insulation options, if you only want some of the build-out items. This costs less, check the website for more details.
>> Can I finance my Wayfarer Van Conversion Kit with my Promaster Car loan? There are options to do this, whether you work with their dealership in Colorado Springs or your local one. Ian can provide you with an invoice that you can take anywhere to have your van and kit financed together.
>> Can I have the campervan conversion kit shipped and install it myself? Only the Promaster City Conversion can be shipped (at additional cost of course), currently they do not ship the bigger Promaster Van Conversion Kit. They only offer the free, local installation. Shipping the bigger kit would add about another $2,000 to the cost of the kit and the conversion is a bit more complicated than the Promaster City (though much easier than other conversion kits still).
>> How much heads up do I need to give Wayfarer Van before I can bring my van in for the build-out? Typically, they need about a two/three week lead time from when you order to when they can have the kit ready.
>> How long does the promaster conversion install take? The installation process is very quick. The smaller vans can take anywhere from 30 minutes to 1 hour and the bigger Ram Promaster conversion vans can take anywhere from 3 hour to 4 hours to have built out. To sum it up... it doesn't take long at all! Compare that to other van build-out companies which can often take weeks or months to build.
>> Is the 1500 Ram Promaster sufficient for towing after the build-out? Short answer, yes! 1500 load should be plenty even with the car fully loaded and towing (up to its allotted capacity of course). The main difference between 1500's and the 2500’s is suspension. Most tend to think they get a bit more power out of the 2500 but really, they just have a stiffer suspension package to carry a heavier load; which is unnecessary when only using it as a camper van. We can attest for this with our 1500. We've loaded down the van for a weekend and towed a small trailer with a motorcycle and had no issues.
>> How does the insulation do with the cold weather? The insulation does great, even in areas where there is snow!
>> Can we add onto the conversion later, as in, could we make cuts to the roof and add a fan if we wanted to? Yes, some people have further customized their Wayfarer Van build-outs at later dates. The panels on the Wayfarer Van and the supporting framework were designed to accommodate such additions. You can pop off the ceiling panels with a Philips head screw driver, exposing the framework and insulation. The insulation is friction held so whoever is doing the work can just pull it out and put it aside for re-installation. From there the fan can be installed between the aluminum framing and the panel will have to be edited (cut) to accommodate the fan.
Our All-In Cost for the Promaster Van and wayfarer Camper Conversion
So were we able to get the van and conversion we were looking for that met our budget? Let's take a look below:
THE VAN - 1500 Ram Promaster 136" Wheelbase, High Rooftop with:
New Van (0 miles)
Backup camera
2 swivel chairs
Side sliding door and window on sliding door
Windows on rear doors
Color that wasn't white
All in Cost: $37,000
THE CONVERSION - Wafarer Vans plug-n-play conversion kit
Insulation
Flooring/Ceiling
Bed
Shelving
Storage
Basic Kitchen Setup
All in Cost: $8,795
TOTAL COST FOR VAN + CONVERSION - $45,795
So all-in-all we were under our budget by around $4,000, and the following month we were able to sell my old Subaru Tribeca for $9,100 which essentially paid for our van build-out. I couldn't be more pleased with how it all turned out.
TOTAL COST AFTER SELLING MY CAR TO PAY FOR BUILD-OUT - $36,695
Completing Our Wayfarer dodge Promaster conversion van
We have a list of several things we would like to eventually add to the van, like a roof rack and maybe an awning, once we save up the money, but for now the van pretty much suits all of our needs. Those are more like luxury items. We did however add a few key items to the van before taking our first big trip.

Five Simple Items We Immediately Added to Complete Our Wayfarer Van Build-Out:
1) Tension Curtain Rod and Blackout Curtains: This was one of the first things we bought so that we could have some privacy in the van when we were camping for the night, instead of worrying about people looking into the van when we didn't know it. It also helps to have a way to close up view of the van if we are in an area that seems a little sketchier than others. Honestly, we just bought a very simple (and cheap) tension curtain rod with some cheap floor length blackout curtains. Sometimes we have issues with knocking the curtain rod down, but we have plans to figure out a solution to that eventually. Just make sure the rod you buy is wide enough! I believe a 72" tension rod works fine here. The whole van is about 6' 2" wide, but the area where you will place the rod is a bit more compressed. We tie back our curtains to the side of the walls when we are driving around, and we just used a simple command clip with some bungee hooks we had lying around.
2) Small Broom and Dustpan: Driving back from Colorado after picking up our Wayfarer Van, we quickly noticed that tiny spaces get dirty quickly, but the good news is that they are also easy and quick to clean! We got a small broom and dustpan which is attached to a command hook on the side of our kitchen area for quick access.
3) String Lights for Night Time Lighting: We really wanted some string lights to hang around the van, and we wanted some easy to add ones right away, so we bought these cute little string lights that wrap all the way around the inside of the van and they are battery operated. It's the perfect amount of lighting if we are just sitting around at night making dinner or something. We still use our headlamps if we are doing some reading though. We installed the lights using command clips, since we weren't sure if we wanted it as a permanent lighting solution.
4) Extra Foam Cushion for the Bed: Now the Wayfarer Van build-out does come with a cushion already, but we decided to buy some extra foam padding (a 3" gel full size mattress foam) to go on top to make the bed extra cozy. The cushion we bought fits on top of the Wayfarer Van cushion perfectly, and we can still use the fold up option on the bed for reading. Winning.
5) Trashcan: We really, really wanted a trashcan that would fit inside with the grey-water and freshwater tanks, so we could keep the trash out of the way. This means we would need a skinnier, yet tall trashcan. I also really wanted something that had a lid so it could keep the smell contained in the van. A lot of the options we found were thin enough to fit, but weren't really very tall or had no lid. We finally ran across these Brabantia bins, and while snug, they fit and are pretty spacious!
That's pretty much all that we've added so far. We've been avid campers for a while now so we already owned most of the camping and cooking utensils that we would need. I did splurge on a Pendelton Blanket to give the van a bit more color and make it fun, and I just recently bought some sheets with llamas on it, but I digress. With time we will make the van more personalized and more our own, but the Wayfarer Van conversion kit got us 90% there and we are really pleased with it.
CONCLUSIONS
We couldn't be happier with the Wayfarer Van build-out! It has significantly improved our long-term travel and suits our needs for a campervan perfectly. I'm so happy that we ran across the Wayfarer van build-out option while doing our research for the perfect van conversion for us. I sometimes wonder where I would be at right now in our campervan search if we hadn't. I might still be looking to be honest. The whole process was painless, quick, and affordable, and the van has already begun to take us on new and amazing adventures. I can't wait to see all the new places we will go in it, and thank you to the Wayfarer Team for making it possible for our budget!
So what are you waiting for? Learn more about building your dream van with Wayfarer Vans!
If you have any questions about our process, the Promaster van, or the Wayfarer Van build-out, please leave us a message in the comments below!
Cheers,
Allison - She Dreams of Alpine


related posts:


Travel Alone – 57 Quotes to Inspire Your Solo Travels | There’s something magical about traveling alone or going on solo adventures. Traveling alone forces us to grow and test what we are really made of and maybe even go through a transformation of self-discovery. These 57 travel alone quotes celebrate the beauty in going solo. | shedreamsofalpine.com