The Ultimate John Muir Trail Planning Guide (2024): Absolutely Everything You Need to Know About Hiking the JMT
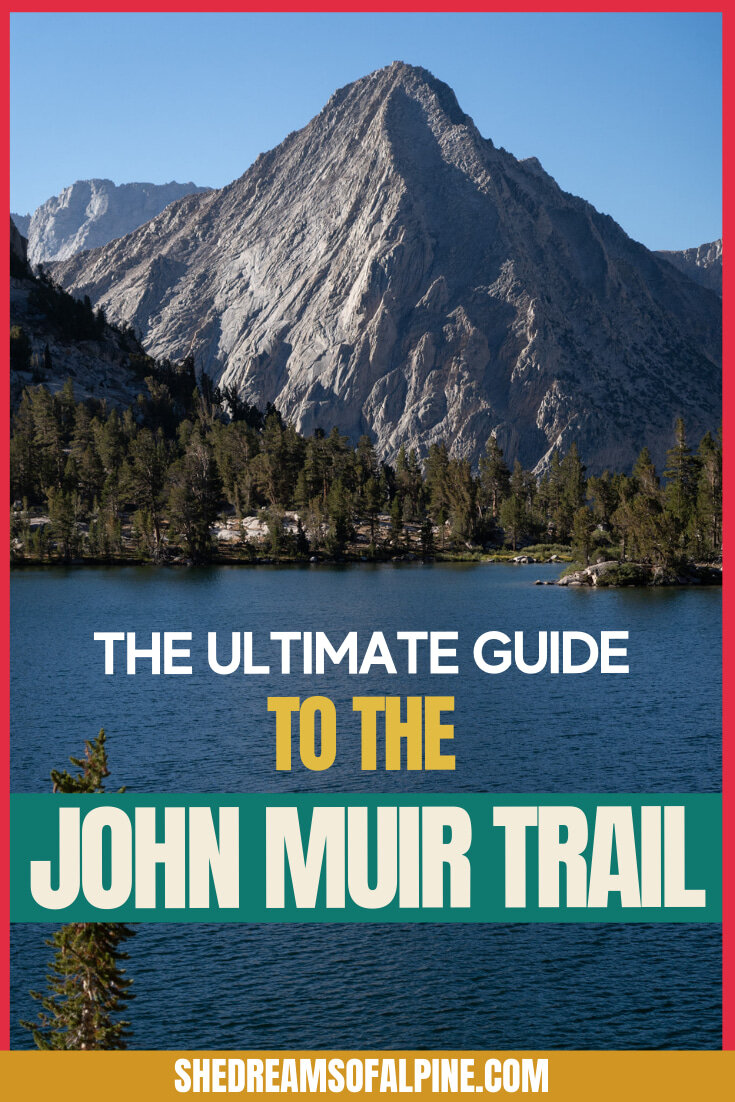
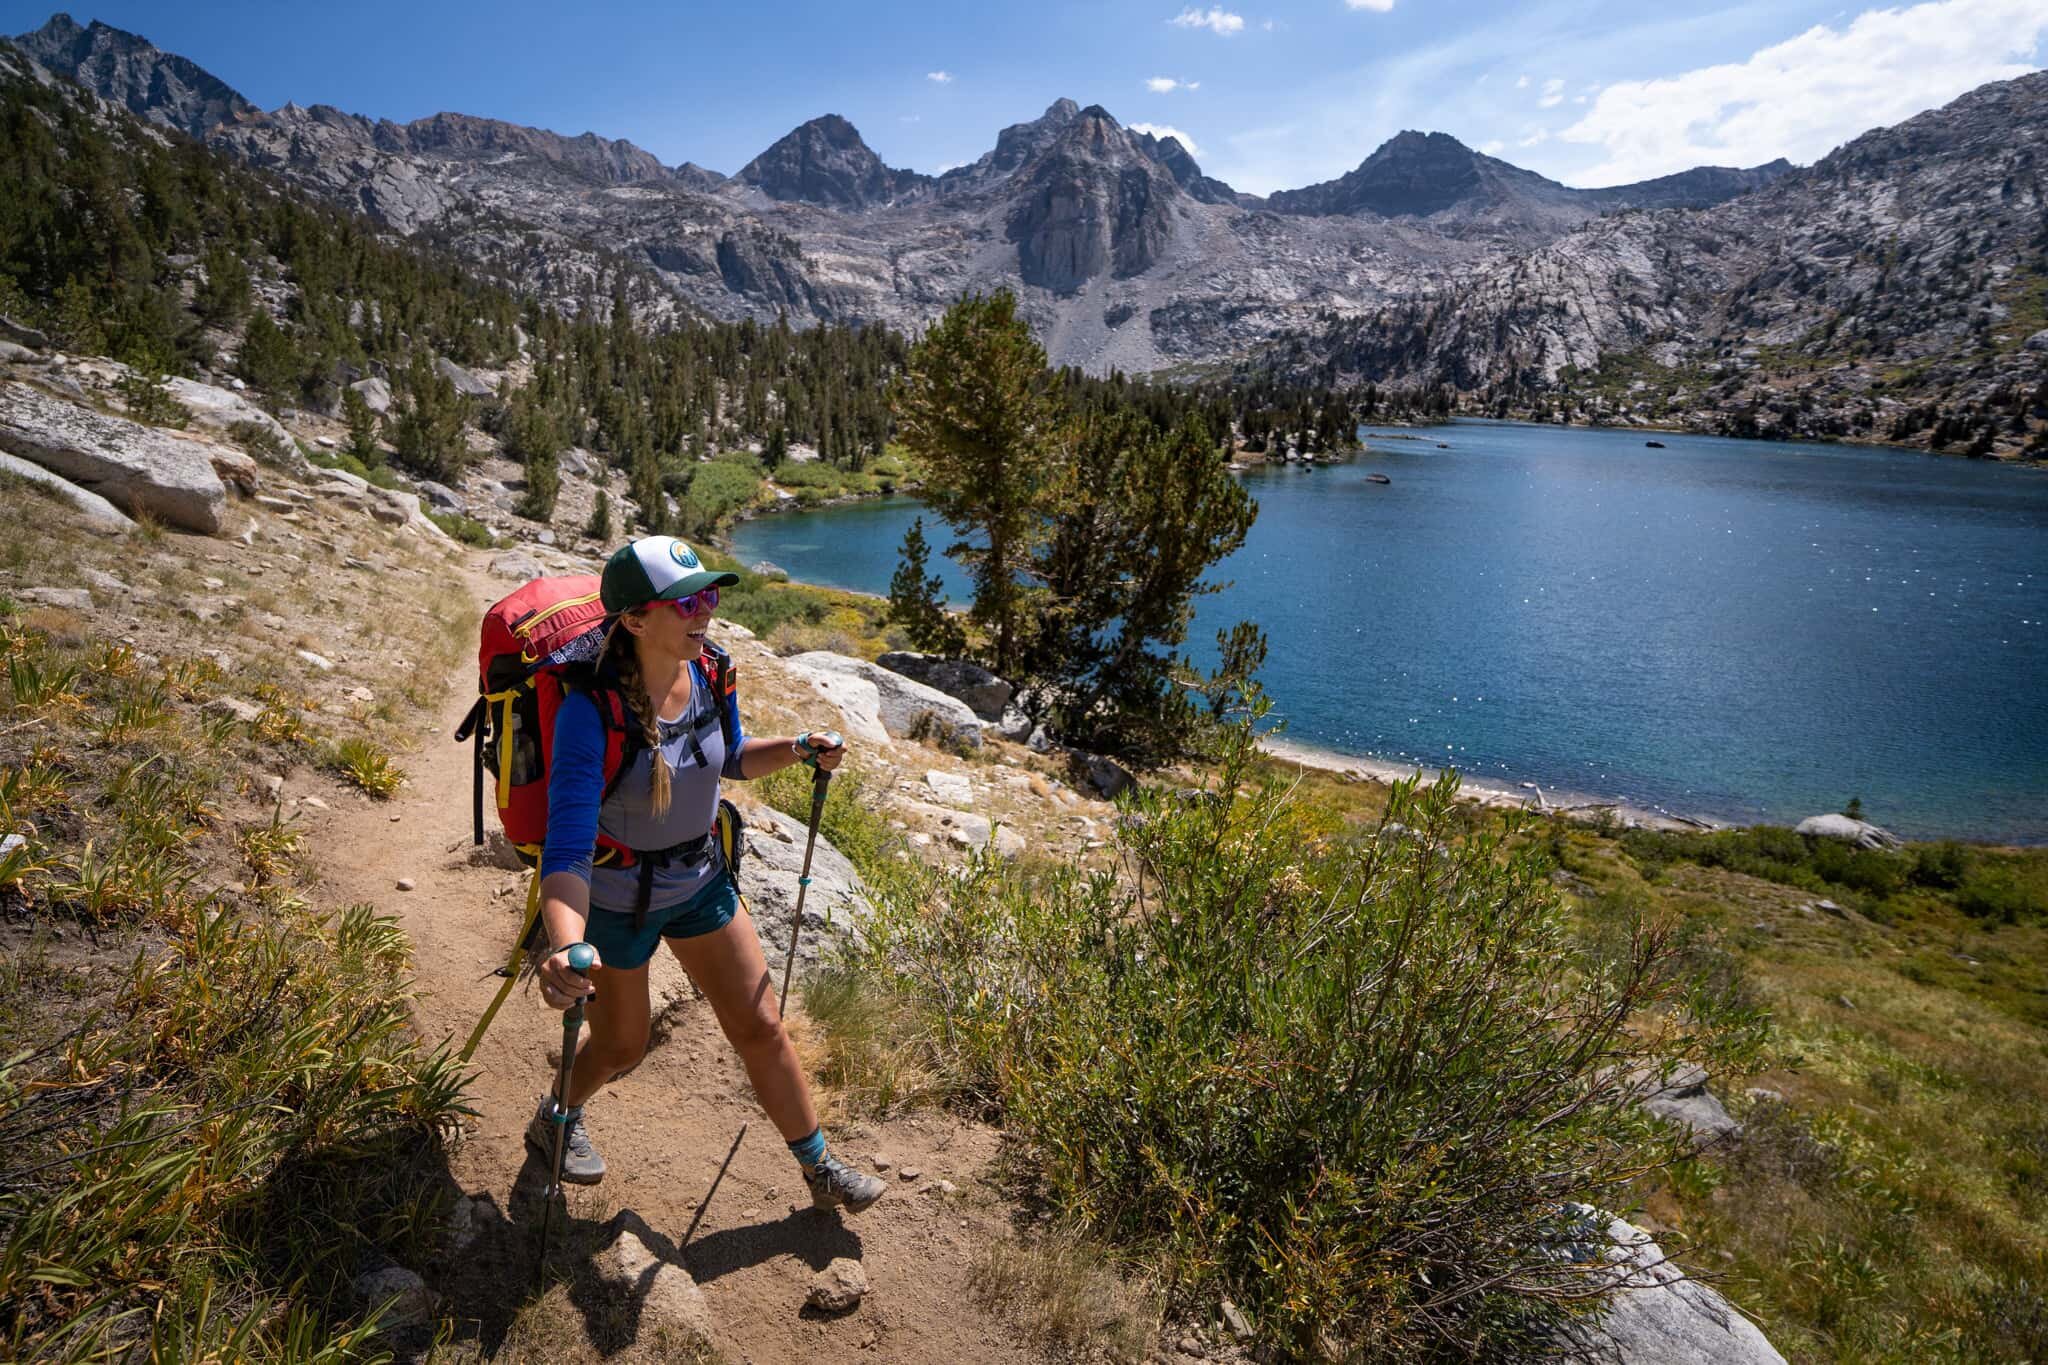
The John Muir Trail stretches along the Sierra Nevada mountain range from Yosemite Valley to Mount Whitney, providing a path through some of the most stunning alpine scenery in the country over the course of 211 miles.
Along with the soaring granite walls of Yosemite and the highest point in the lower 48 states on the summit of Mount Whitney, the John Muir Trail will also take you through the Ansel Adams Wilderness, the John Muir Wilderness, and Sequoia & Kings Canyon National Parks.
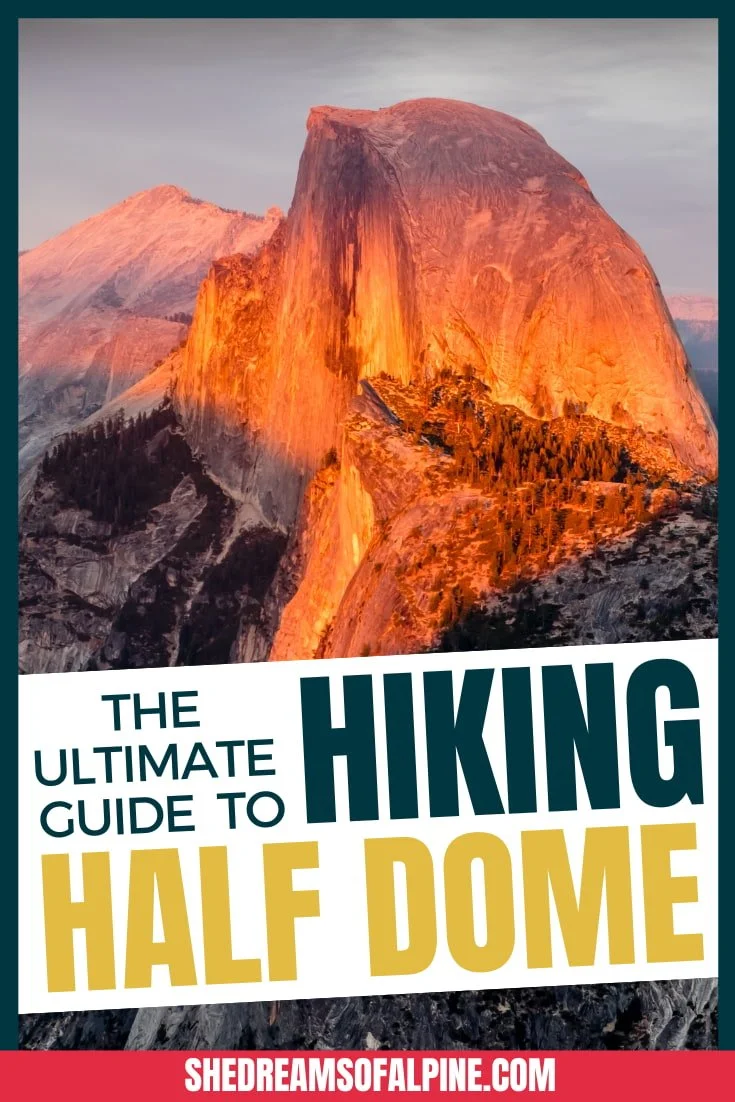
I first heard about the John Muir Trail when I was invited on my very first backpacking trip to hike Half Dome in Yosemite National Park. The idea of hiking all 211 miles of the JMT struck me as the ultimate dream adventure, and something (at the time) that I only dreamed of doing one day.
Fast forward 7 years, and that dream of hiking the JMT finally came true, and I’m beyond excited to share more about that experience here with you (and through more of our helpful JMT guides) to help YOU plan your very own John Muir Trail adventure.
THE JOHN MUIR TRAIL INFO WE WILL COVER IN THIS GUIDE
The John Muir Trail is expansive and so is this guide! :) While there is a lot of information to cover, we’ve broken it up to make it easy to find the info you need.

In this post, we will go in-depth on the following topics to help you plan and prepare for the John Muir Trail, whether you’re thru-hiking, section-hiking, or simply dreaming about the JMT:
John Muir Trail History - The background and origin of the JMT.
Why Hike the John Muir Trail - What makes the JMT so special.
John Muir Trail FAQ - Trail stats and more important info.
Thru-Hiking vs Section Hiking the John Muir Trail - The key differences between tackling the entire trail or just a shorter section.
When to Hike the John Muir Trail – Details about the best time to hike the JMT and the typical weather to expect on your trip.
Which Direction to Hike the John Muir Trail - The pros and cons of northbound vs southbound.
John Muir Trail Map & GPX Files - A map detailing the entire trail that you can explore, including a look at the elevation gain/profile of the hike. You can also download this file as a GPX file to upload into your own personal GPS device.
How to Get Permits for the John Muir Trail - Navigating the reservation system.
Transportation for the John Muir Trail – Flying, driving, and parking recommendations.
Resupply Stops Along the John Muir Trail – The best places to replenish your supplies along the John Muir Trail.
Important John Muir Trail Safety Tips – Tips about the top hazards to expect along the John Muir Trail.
Packing for the John Muir Trail – The essential packing list for backpacking the John Muir Trail. Don’t hit the trail without these things!
If you’re looking for specific information, feel free to skip ahead to the section you’re looking for!
Also, be sure to check out the bottom of this post to find more hiking trail guides and other additional hiking, camping, and backpacking resources!
GRAB MY [FREE] OUTDOOR BACKPACKER STARTER KIT
I created the Ultimate Outdoor Backpacker Starter Kit for you (and it's FREE)! This starter kit is filled with 14 pages of my best hiking and backpacking tips to help you learn what it takes to become a safe, confident, and self-sufficient outdoor backpacker!
1. JOHN MUIR TRAIL HISTORY
The 211-mile John Muir Trail runs from Happy Isles in Yosemite National Park to the peak of Mount Whitney. The trail was originally established by the Paiute tribe as Nüümü Poyo, or the People’s Trail. Several Native American Tribes lived in the Sierra Nevada region long before European settlers came to California.

Eventually the government of California removed the native tribes from their land, and the trail was named after John Muir, the first president of the Sierra Club, who advocated for the Sierra Club and the State of California to collaborate on further construction of the trail. The John Muir Trail was completed in 1938, and it has been a magnet for hikers ever since.
2. WHY HIKE THE JOHN MUIR TRAIL
What is it about the John Muir Trail that attracts so many hikers? Each hiker has their own reason for hiking the JMT, from the ability to see Yosemite and Mount Whitney and so many amazing places in between, to the challenge of thru-hiking 211 miles (and perhaps training for a much longer thru-hike of the Pacific Crest Trail or the Appalachian Trail).
For me, this trip was written into my destiny for so long now. It was set in stone the moment I first fell in love with the outdoors. The moment I finished my first backpacking trip on the Half Dome Trail at age 23.
After that first backpacking trip, I knew I’d come back. I knew I’d hike the whole thing. I was reborn in the Sierra Nevada Mountains and hiking the John Muir Trail seemed like the most intimate way to get to know one of my favorite places in the world... to pay respects to the place that gave me new life and set me on the path of becoming a backpacking coach to women around the world.
I wrote a blog post with 15 reasons why I was excited to hike the JMT, which you can read here. These are largely personal reasons, and I hope you enjoy getting to see a little bit more into my world, what drives me, and what I’m passionate about.
3. JOHN MUIR TRAIL FAQ
It can be overwhelming to begin to plan a hike of the John Muir Trail, so here are answers to some of the most common questions about the JMT.
JOHN MUIR TRAIL STATS & FAQ
How long is the John Muir Trail? The entire John Muir Trail is 211 miles long.
Where is the trailhead for the John Muir Trail? If you are hiking southbound, the main trailhead is at Happy Isles in Yosemite Valley. If you are hiking northbound, the main trailhead is at Whitney Portal. Some people also choose to get permits for other trailheads that connect to the JMT because they are a bit easier to get. The most popular alternative trailheads are Cottonwood Pass and Cottonwood Lakes.
What is the trailhead elevation? The elevation at the Happy Isles trailhead is 4,047 feet, and the elevation at the Whitney Portal trailhead is 8,374 feet.
What is the highest elevation on the John Muir Trail: The highest elevation along the JMT is 14,505 feet at the summit of Mt. Whitney.
What is the total elevation gain along the John Muir Trail? The total elevation gain along the whole JMT is 45,000 feet.
How long does it take to hike the John Muir Trail? It generally takes between 10-30 days to hike the entire John Muir Trail. Many factors will affect the time it takes, including your physical fitness, the weight of your pack, and whether you prefer to push faster or enjoy a more leisurely pace.
Do you need a permit to hike the John Muir Trail? Yes, a permit is required to hike the John Muir Trail. A lottery system is in place to distribute JMT permits, and you must apply in advance. Click here to learn more about getting your JMT permit.
How difficult is hiking the John Muir Trail? The John Muir Trail is an extremely difficult hike, although it is not technical. If you thru-hike the entire JMT, that is a significant undertaking of mileage and elevation. Plus, Mt. Whitney, a California 14er, is part of the John Muir Trail, and this hike is a challenge on its own!
Is there drinking water available along the John Muir Trail? Yes. There are plentiful water sources available all along the JMT.
How crowded is the John Muir Trail? The JMT is extremely popular, but permits are required. There is a lottery for southbound permits, which limits the crowds to some extent, and Mount Whitney permits are also very competitive.

4. THRU-HIKING VS SECTION HIKING THE JOHN MUIR TRAIL
When you decide you want to hike the JMT, you have two options – either tackle the whole trail in a thru-hike or break it up into sections that you can do at different times. We’ll go over the pros and cons, as well as the differences between each experience below.
THRU-HIKING
Thru-hiking means making a backpacking trip from one end of a long distance trail to the other in a single consecutive push. Thru-hiking requires a big time commitment, as well as lots of advanced planning.
The John Muir Trail (JMT) is significantly shorter than other famous thru-hikes in the US, such as the Pacific Crest Trail (PCT) and the Appalachian Trail (AT). This makes it a great option as a first thru-hike if you have an eventual goal of hiking one of the longer trails.
SECTION HIKING
Section hiking means that you hike sections of the same trail at different times, instead of the whole trail all at once. This splits up the trail into more doable sections and offers a way to hike a long distance trail without a huge time commitment. Some section hikers make it a goal to complete the entire trail over time, while others simply want to hike certain sections individually.
Section hiking the John Muir Trail gives you more flexibility. You can focus on hiking the specific parts of the trail that most appeal to you. It’s also a great way to get familiar with the trail if you want to do a full thru-hike in the future. And if you don’t get lucky in the permit lottery to do the full JMT thru-hike, you are still able to section hike parts of the trail.
Before I ever had the vacation time to tackle to full JMT in one push, I first section hiked miles and miles of the John Muir Trail. Here are a few trail guides I’ve written on various section hikes along the JMT:
DOWNLOAD OUR HIKING PACKING CHECKLIST
So that you can hit the trails with peace of mind knowing that you didn’t leave anything essential behind!

5. WHEN TO HIKE THE JOHN MUIR TRAIL
The biggest consideration when deciding when to hike the JMT is that you want to avoid snow in the High Sierras. This makes early July to late September the best time to complete your John Muir Trail hike.
While hiking the JMT in June or October might be okay, those months are considered shoulder season, and you could run into snow, depending on the accumulation that year in California.
In my opinion, September is the ideal month to tackle a thru-hike of the John Muir Trail. Usually you will find the trail less crowded in September, and the weather will be the most pleasant, and less bugs! However, wildfires have started becoming a big concern on the JMT in September.
In the past few years, wildfires have often closed down the National Forests for several weeks starting around Labor Day and into September. The National Forest is a huge portion of the John Muir Trail, and so many hikers (including Michael & I) have been kicked off the trail due to these closures.
It’s hard to say for sure if this will happen again in future years, but wildfires are becoming a more and more frequent threat to this area and the thru-hiking community. This should be something to at least consider when planning dates for your hike.
Also, check out the John Muir Trail weather average temperature map below for reference.

Be prepared before you go. Just like I teach my students in my backpacking program. It’s important that you research your weather conditions before you go, weeks and days before your trip. You can check the weather conditions at one of the following resources:
NPS Yosemite Weather Forecast Map – The National Park Service has created a map where you can find specific forecasts for the Sierra Nevada range from Yosemite to Kings Canyon.
Mountain Forecast – One of my favorite sources for mountain weather forecasts when checking a few days before a trip
Important Notes: Snow can seriously affect your ability to complete the John Muir Trail, as well as impact your safety along the way. Be sure to pay attention to the snow accumulation in the Sierras during the winter season leading up to your hike so you can be prepared for what to expect along the trail.
6. WHICH DIRECTION TO HIKE THE JOHN MUIR TRAIL
You can hike the John Muir Trail either Northbound (aka NOBO) starting from Mt. Whitney and ending in Yosemite Valley, or Southbound (aka SOBO) starting in Yosemite Valley and ending at Mt. Whitney.
Both options have their pluses and minuses, although SOBO is the most popular. Below is a comparison of the strengths and weaknesses of each direction.

NORTHBOUND (NOBO)
The biggest plus of hiking NOBO is that permits (if you choose to start at Cottonwood Pass or Cottonwood Lakes and connect to the JMT) are somewhat easier to get than if you’re starting SOBO. In fact, you can often plan a northbound hike as a backup in case you don’t get the coveted southbound permits. I talk all about that in our JMT permit post.
One drawback of starting NOBO is that there’s a good chance you’ll run into more snow on the trail if you hike early in the season, since you start at higher altitude during a NOBO hike. That also means that you’ll have to acclimate to the altitude more quickly, which can be difficult on your body. Most of your early nights on a NOBO JMT hike will have you camping at 10,000 feet or above.
When Michael and I hiked the JMT, we ended up going Northbound with permits starting at Cottonwood Pass. This added a few more days onto our overall plan, but it was easier to get permits for and also easier to acclimate with compared to starting at Mount Whitney.
SOUTHBOUND (SOBO)
A southbound JMT hike offers a few benefits that make it a popular way to go. First of all, starting this direction means you’ll start at a lower elevation and have more time to adjust to the altitude as you hike.
You’ll also be less likely to encounter snow early in the season on a SOBO hike. Plus, you’ll probably pass NOBO hikers along the way who can give you up-to-date info on the mountain passes you’ll encounter.
The biggest downside to SOBO hiking is the permit lottery is extremely competitive, so if you don’t win the lottery, you won’t actually be able to hike the JMT southbound.
However, both directions really are great in their own way, so you can always apply for a SOBO permit, but have the NOBO option as a backup in case you don’t win the permit lottery.
7. JOHN MUIR TRAIL MAP & GPX FILES
Since the John Muir Trail is so popular, it is very well-signed and well-maintained, which generally makes it easy to follow.
However, as always, it is still crucial to be prepared with a map of the trail because you will be in the wilderness, and it is always possible to get lost or find yourself in need of an alternate route because of snow or weather conditions… or simply because of a wrong turn at a fork in the trail.

I’ve created a map detailing the entire John Muir Trail that you can explore, including a look at the elevation gain/profile of the hike. You can also download this file as a GPX file to upload into your own personal GPS device.
I always recommend downloading a GPX file onto a GPS device, that way you can check in from time to time to be sure you’re on the right trail.
You can download the GPX files from the John Muir Trail map below. It details all the key milestones of the hike including the trailhead start, summit, and more.
DOWNLOAD THE JOHN MUIR TRAIL GPX FILES FOR YOUR GPS HERE
Knowledge is power my friend, and I'm a girl who loves data. Get access to this trails GPX file PLUS my library of GPX files with tracks and waypoints for all the trails loaded onto the She Dreams of Alpine blog.
Load this puppy into your trusted GPS and rest easy knowing you have tracks to follow on your next hike or backpacking trip.
DON’T HAVE A GPS? YOU SHOULD.
I believe every hiker and backpacker should strive to be self-sufficient, and that includes knowing how to practice smart navigational skills in the outdoors.
This is an important safety skill set that I teach in-depth inside of my backpacking program. There’s no reason to risk getting lost in the outdoors.
Here’s what I recommend to get started:
(Note: This list contains affiliate links)
Gaia is offering a special 20% discount on a premium account to those who subscribe online through my link.
Don’t know where to start? If you need help with some Gaia GPS basics, download my quick Gaia GPS navigation 101 guide.
2) Get an SOS Device: Once you are able to, I recommend investing in some sort of SOS communication device like the Garmin inReach Mini or the Garmin inReach Explorer+ . These devices provide not only GPS tracking capabilities, but also an SOS satellite search and rescue communicator and text communication abilities in the backcountry.
My Go-To Trail Setup: The Gaia GPS app (premium subscription) + the Garmin inReach Mini.
Alternative to Garmin: Pair your Gaia GPS App with the Zoleo SOS device . With this set up, the Gaia GPS App serves as your GPS navigation device, and the Zoleo serves as an SOS/communication device.
Learn more about the best GPS devices for hiking here.
JOHN MUIR TRAIL HIKE ELEVATION PROFILE
Here’s a look at the John Muir Trail hike elevation gain profile. This image comes from the Pacific Crest Trail Association, and I love how descriptive it is.
There is over 45,000 feet of elevation gain across the entire John Muir Trail!

8. HOW TO GET PERMITS FOR THE JOHN MUIR TRAIL
If you dream of hiking the John Muir Trail, the number one thing you need is a permit. JMT permits are one of the most high demand California trail permits, and you have to enter a lottery in order to have a chance to get one. But don’t let this intimidate you – while this requires some advanced planning, the permit process doesn’t have to be complicated.
You will apply for a different permit if you are hiking SOBO than if you are hiking NOBO. Southbound JMT hikers need a Yosemite Wilderness Permit, while northbound JMT hikers require either a Mount Whitney Permit or an Inyo National Forest Wilderness Permit, depending on the trailhead you start at.

Here is more info about how to apply for the different permits:
SOUTHBOUND PERMITS
To hike the John Muir Trail SOBO, you will have to apply for a Yosemite Wilderness Permit. These can be obtained up to 24 weeks (168 days) in advance through the Yosemite JMT Lottery application online. The fee for a southbound John Muir Trail permit is $10 to apply (non-refundable).
You’ll have to fill in your desired dates on the application, as well as your starting trailhead, first night’s campsite, and exit trailhead. Once your lottery dates come up, you will get a notification each day of your desired dates telling you if you were accepted or denied. If you receive a permit, you have 14 days to pay an additional $5 per person for it before it gets canceled.
NORTHBOUND PERMITS
When applying for a NOBO John Muir Trail hike, you have two options – a Mount Whitney Permit or an Inyo National Forest Wilderness Permit. If you plan to start your hike at Mt. Whitney, you will need a Mt. Whitney Permit, and you can read more about the entire Mt. Whitney permit process here. If you start at Horseshoe Meadows, which I recommend, you will need the Inyo National Forest Wilderness Permit.
You must apply for the Inyo National Forest Wilderness permit exactly 6 months in advance of the date you want to start your JMT hike. You will need to create an account and apply through recreation.gov, where you will be required to list your entry and exit points, as well as your planned campsite for each night. These permits are not part of a lottery process, so you will find out immediately if you get your permit.
You will have to pay $6 to apply for your Inyo National National Forest Permit, plus $15 per person if you receive the permit (for the Whitney Zone).
For all the things you need to consider when planning to apply for your JMT permit and complete step-by-step instructions, check out our stress-free guide to John Muir Trail permits.

9. TRANSPORTATION FOR THE JOHN MUIR TRAIL
Getting to the trailhead is the first step to hiking the John Muir Trail. In this section, we’ll go into more detail about flying into the vicinity of the Sierra Nevadas, as well as getting to and parking at each of the different trailheads.
AIRPORTS NEAR THE JOHN MUIR TRAIL
If you are coming to hike the John Muir Trail from a different part of the country or the world, you have several options for airports to fly into. Each of the airport options has pros & cons, which we’ll go over below.
Reno-Tahoe Airport (Nevada)
One of the best airport options for the JMT is the Reno-Tahoe Airport. While this airport is farther away than Mammoth Lakes, the flights are usually cheaper, and you can take an Eastern Sierra Transit bus straight from the airport to Lee Vining, Mammoth Lakes, or Lone Pine to make your way to either the north or south trailhead.
Mammoth Yosemite Airport (California)
The Mammoth Yosemite Airport is the closest to the John Muir Trail, especially if you’re hiking southbound and starting in Yosemite. However, it is also probably one of the more expensive airports to fly into, since it is a smaller airport with limited flight options. From the Mammoth airport, you can take the Eastern Sierra Transit bus or a private shuttle to Yosemite.
If you do decide to fly into Mammoth, you might want to spend a few days in town to explore all the fun things Mammoth Lakes has to offer!
San Francisco, Oakland, or Los Angeles Airport (California)
These are all bigger airports that most likely will be cheaper to fly into. However, they are also farther away, making it more complicated to actually get to the trailhead, although it is definitely doable.

GETTING TO THE TRAILHEAD
A key thing to remember is that at the end of your thru-hike you’ll be 211 miles away from where you started, so you’ll need to plan for that. The most common way to handle this is to park your car at your exit trailhead, and take public transit to the starting trailhead. Luckily, there is fantastic and reliable bus service to the trailheads via Eastern Sierra Transit (EST) and Yosemite Area Regional Transportation System (YARTS).
SOUTHBOUND TRAILHEAD
When you’re starting from the north and heading southbound, you have several options, but all the northern trailheads are in Yosemite National Park. The most popular southbound trailhead is Happy Isles in Little Yosemite Valley. This is the technical terminus of the JMT, which means you will hike the entirety of the John Muir Trail if you start here. Other possible SOBO trailheads are Glacier Point, Sunrise Lake, and Tenaya Canyon.
If you want to park at the northern trailhead, there is a long-term backpacker’s parking lot near Curry Village, just half a mile from the Happy Isles trailhead. If you’re taking public transit to this trailhead, you can take YARTS from Lone Pine near Whitney Portal, then transfer at Mammoth Lakes to the YARTS line that takes you straight into Yosemite Valley.
NORTHBOUND TRAILHEAD
There are 2 primary southern trailhead options for northbound hikers: Whitney Portal & Horseshoe Meadow, both near the town of Lone Pine. While Whitney Portal is the standard southern trailhead, it is also at high altitude and is more competitive for permits. I highly recommend starting slightly farther south at Horseshoe Meadow and heading along the Cottonwood Lakes Trail to the JMT.
There is parking at Whitney Portal, and if that is full, there is overflow parking at the Dow Villa Motel or the Lone Pine Chamber of Commerce. Horseshoe Meadow campground also has long-term parking if you choose to start there. If you want to take public transit to the southern trailhead, you can take YARTS from Yosemite Valley to Mammoth Lakes, then transfer to Lone Pine. To get from Lone Pine to Whitney Portal or Horseshoe Meadow, you can either attempt to hitchhike or reserve a trip on the East Side Sierra Shuttle.
10. RESUPPLY STOPS ALONG THE JOHN MUIR TRAIL
If you’re thru-hiking the John Muir Trail, you will have to make several resupply stops along your way to replenish your food supply, since it’d be just about impossible to carry all of your food for the whole trail from the start.
The way this usually works is that you arrange to have your food and supplies shipped to a location (a hotel/motel, local business, or even the post office) near the trail. When you get to that point, you leave the trail and head to the pre-arranged location to pick up your package. You can also use this excursion to spend a night in a hotel room and/or take a shower to relax and refresh before you head back to the trail.

While there are various options for resupply stops depending on your pace and preferences, here are some of the most common JMT resupply stops, with special tips about what to expect at each one.
By the way, if you’re looking to DIY some of your food on the John Muir trail, I definitely recommend you check out my friend Aaron over at Backcountry Foodie. She specializes in creating recipes for backpackers that are packed with nutrition but optimized to be lightweight. Join her membership to get access to a TON of support from her and her team and hundreds of delicious backpacking meals.
Note: The resupply stops listed here are in order if you are hiking the John Muir Trail SOBO. Reverse the order if you are hiking NOBO on the JMT.
TUOLUMNE MEADOWS STORE
While the Tuolumne Meadows Store is very early on the trail – just 22 miles from Yosemite Valley – it is also very convenient. This stop can easily be skipped if you’re going for speed, but it’s also a nice break if you’re new to thru-hiking and want a little comfort early on the JMT. You could give yourself the option of stopping for some extra food or treats at the store but not send an actual resupply box here in case you end up feeling like you can continue on without a break.
RED’S MEADOW RESORT
Red’s Meadow is a fantastic resupply stop just ¼ mile off the John Muir Trail (and about 60 miles from the trailhead in Yosemite). The resort will accept resupply packages from thru-hikers for a fee, meaning they will pick it up from the post office so you don’t have to go into Mammoth Lakes to get it. They also offer showers and cabins or campsites for backpackers to spend the night. Red’s Meadow has a stocked general store, and the Mule House Cafe serves up hearty meals for breakfast, lunch, and dinner.
MAMMOTH LAKES
Another good resupply option at this point in the trail is Mammoth Lakes, which is a perfect place to spend a zero day (a rest day with no miles gained). During peak hiking season, a bus runs regularly from Red’s Meadow to Mammoth Lakes, and the town has everything a tired hiker could dream of, from restaurants and cafes to grocery and sporting goods stores. You can spend a cozy night at a hotel and ship your resupply package straight to the Mammoth Lakes post office, where they will hold it for you to pick up.
VERMILLION VALLEY RESORT
This resupply stop requires a detour from the trail, but many thru-hikers think it’s worth putting in the extra miles to get to Vermillion Valley Resort (often referred to as VVR). You can hike 1.5 miles to Lake Edison, where you can then either take a boat shuttle across the lake or hike another 4.5 miles to the resort. Not only will Vermillion Valley accept resupply packages for a fee, they also offer free camping for thru-hikers. If you need a zero day to recharge, you can upgrade your lodging to a hostel tent or a yurt and replace your calories at the restaurant (where it is rumored that the first drink is free for thru-hikers!). VVR also has a general store and offers showers and laundry, so you can wash away the hiker grime.
MUIR TRAIL RANCH
Depending on your priorities, Muir Trail Ranch might make a better resupply stop than VVR, since it is so much closer to the trail. However, with that convenience comes a lack of amenities. The ranch accepts resupply packages for a fee, and there is a small store to pick up any necessities, but there are no hot meals or showers (unless you choose to book a room). However, there are public hot springs nearby where you can soak your exhausted muscles.
KEARSARGE PASS/ONION VALLEY
While there are lots of options for resupplying on the north section of the trail, there isn’t much along the last 100 miles, so most thru-hikers will make the long (14 mile round trip) detour over Kearsarge Pass to Onion Valley. The hike over the pass is beautiful, which will help distract you from the added mileage. There is a campground at Onion Valley itself with pit toilets and bear lockers, where you can leave a resupply package ahead of time, if you can figure out a way to get it there.

However, most thru-hikers will hitchhike to the tiny town of Independence. You can have your resupply shipped directly to the post office here, or splurge on the Mount Williamson Motel resupply package, which includes acceptance of your resupply package, transportation from and back to the Onion Valley trailhead, one night of lodging, laundry, a hot breakfast, and a cold, refreshing beverage upon arrival. It’s definitely fancy (and not cheap!), but it’s worth it to avoid the hassle of logistics and allow yourself to just relax.
11. IMPORTANT JOHN MUIR TRAIL SAFETY TIPS
Hiking the John Muir Trail is a serious undertaking, and it’s important to be prepared to keep yourself safe. Though this is a popular trail, you will be spending lots of time alone in the backcountry of the Sierra Nevada, and there are a number of hazards to be aware of during your hike.
ALTITUDE
First and foremost, the John Muir Trail features lots of high elevation hiking, and you will most likely feel the effects of altitude. Many people choose to hike the John Muir Trail southbound if possible because it allows more time for acclimation before you reach the highest altitudes in the Whitney Zone.
Altitude sickness is extremely serious, and you should be prepared to quickly descend if you or anyone in your party begins showing symptoms of Acute Mountain Sickness (AMS). The main symptoms of AMS include persistent headache, difficulty sleeping, dizziness, fatigue, loss of appetite, and nausea or vomiting.
Staying hydrated significantly helps alleviate the effects of altitude, so be sure to drink plenty of water along the John Muir Trail.
SNOW
Hiking through the Sierra Nevada mountain range, you’re likely to encounter snow, which can make the trail much more treacherous. Ideally, you’ll plan your hike of the John Muir Trail during the summer season when most of the snow has melted. July, August, and September are probably your best bets to avoid snow.
It’s also a good idea to bring microspikes (or send them in one of your resupplies near potentially snowy areas like Mt. Whitney) just in case you do encounter snow.
WEATHER
When thru-hiking the JMT, you will encounter different climates as well as different weather patterns, so you need to be prepared for whatever Mother Nature might have in store for you. It’s important to bring layers of clothing (especially a down puffy), and also be prepared for potential rain with at least an emergency poncho or a waterproof rain shell.

STREAM CROSSINGS
You will have to cross streams multiple times on the John Muir Trail. Depending on the season and the snow melt runoff, these crossings could potentially be difficult or dangerous. When you reach a stream crossing, you should assess the area for the safest place to cross the water. The Pacific Crest Trail Association offers some excellent advice for how to safely cross the streams you might encounter along the JMT.
WATER
A key consideration on the John Muir Trail is making sure you have enough water. There are lots of water sources along the trail, and usually there are no extremely long stretches without available water. But the later in the fall you hike, the more likely some of the sources could dry up, so you’ll want to check updated trail conditions if you can. You will need to bring a water filter or water treatment to safely drink from the water sources along the trail.
BEARS
Black bears call the Sierras home, and bear canisters are required in many of the areas you’ll pass through on your JMT hike, including Yosemite National Park and the Whitney Zone. However, bear spray is not recommended by park rangers, and your best deterrent is to make noise (like shouting “hey bear!) as you hike, so bears aren’t surprised by you.
BUGS
While hiking the John Muir Trail in the summer is ideal weather-wise, it is less than ideal when it comes to bugs. In July and August in particular, mosquitoes and black flies can be a serious nuisance, especially in areas near water. You should pack bug spray that you know is effective (whether that’s DEET or another type you prefer) to keep the bugs away, especially if you’re hiking in mid-summer. As the weather cools in September and October, bugs become less of an issue.
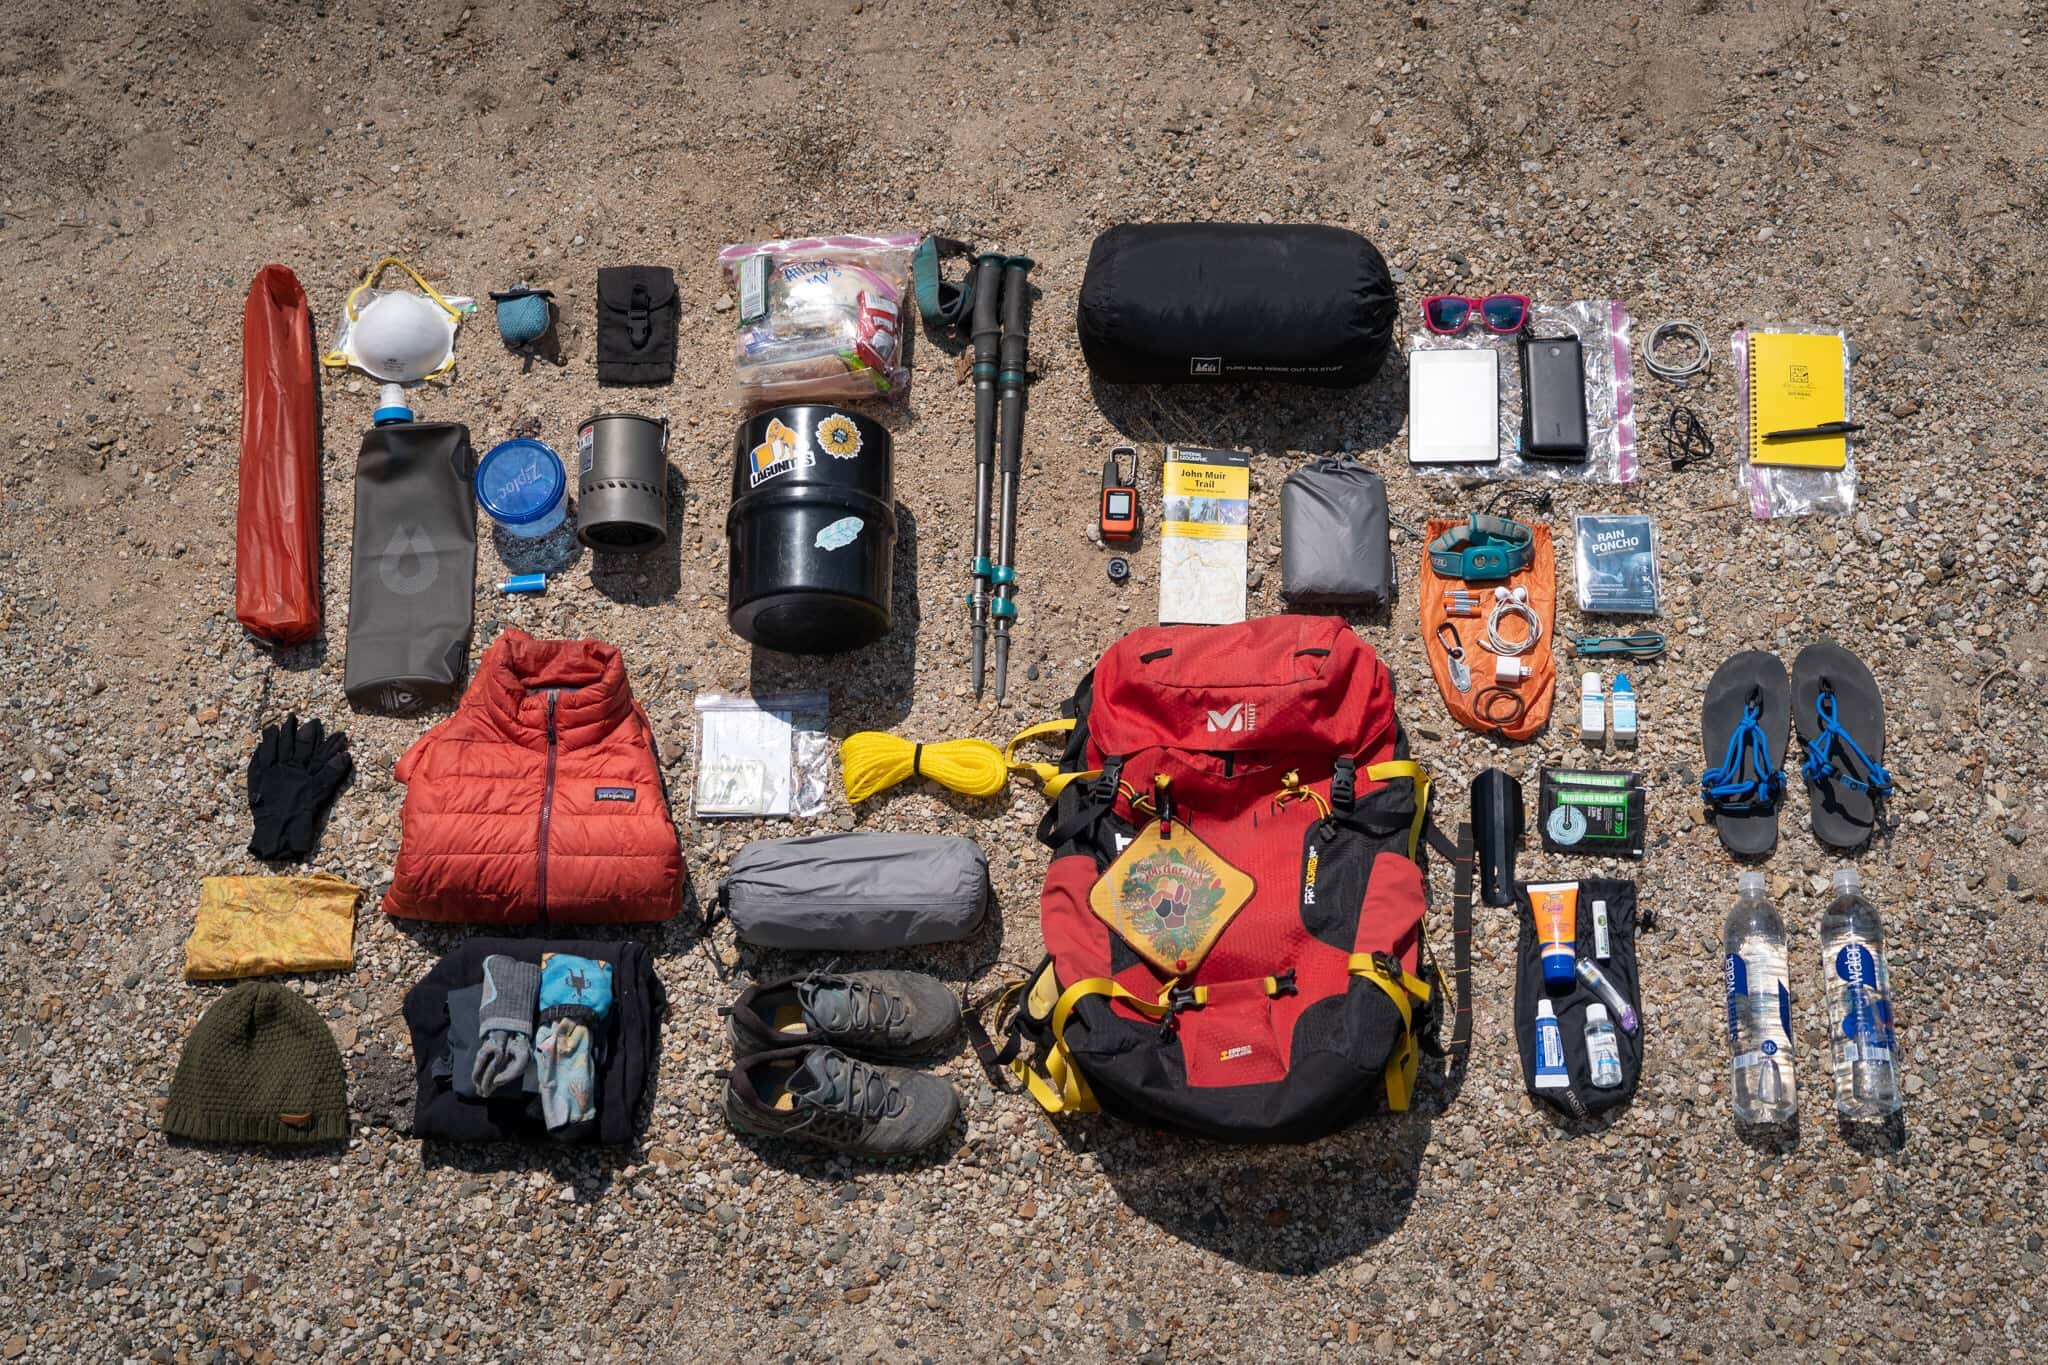
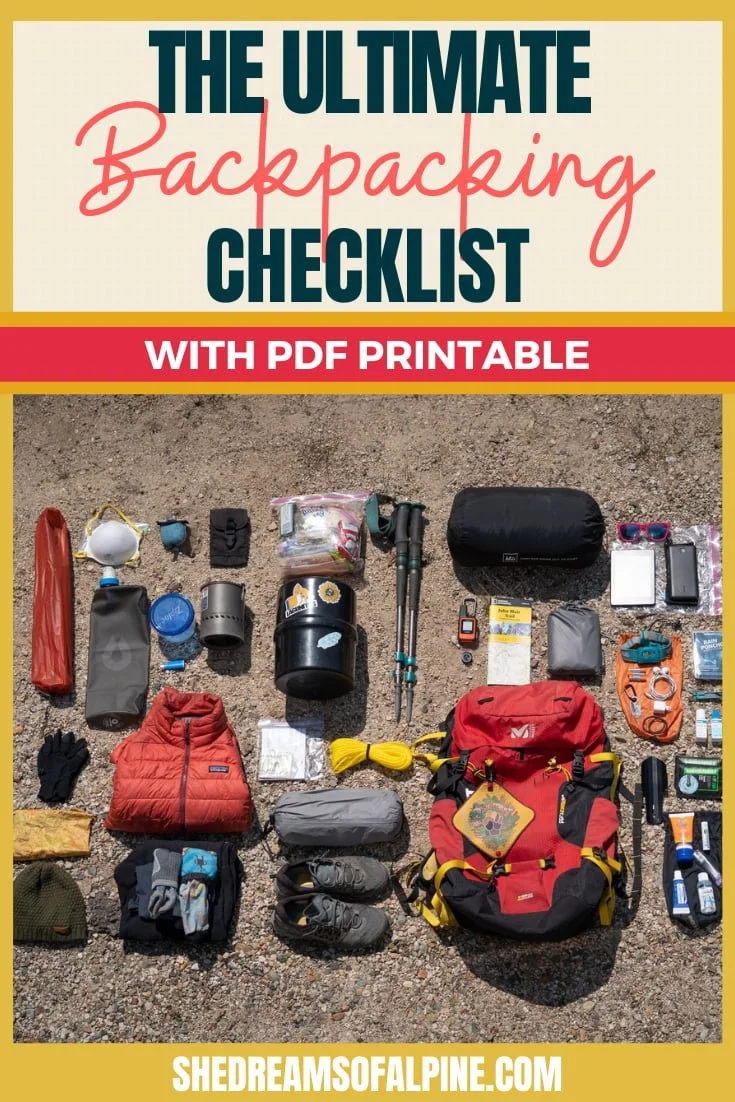
12. PACKING FOR THE JOHN MUIR TRAIL
When it comes to packing for the JMT, you’ll need to bring a lot of gear, and, if you’re thru-hiking, you’ll want that gear to be as lightweight as possible. While you’ll definitely need your standard backpacking gear, you’ll also want to make sure you have a few specific items that are especially important on the John Muir Trail.
*Please note that some of the below links and other links in this post are affiliate links.
1) Backpack – You need a backpack to carry your water, snacks, and all the other gear that you’ll need during the course of your hike. On a long thru-hike, you don’t want to be dealing with pain from your backpack, so your pack should be well-fitted and lightweight to make you as comfortable as possible. I recommend the Sierra Designs Capacitor 40-60L because it expands and compresses so you can adjust the capacity throughout your thru-hike.
2) Bear Canister – Bear cans are required for hiking in the Sierra Nevada. I have found that a bear can with a volume of around 430 cubic inches works perfectly for me for 3-5 days, and the BearVault BV450 Bear Resistant Food Container is a great choice.
3) Water Filter – You will need to fill up water along the trail, and in order to safely drink it, you need a water filter. You absolutely should not drink from outdoor water sources without filtering or treating the water first. My favorite water filter is the Katadyn Hiker Pro Microfilter , but the Sawyer Squeeze is another great option that is more affordable..
4) GPS & Satellite Communicator – While the JMT is a fairly easy to follow trail, you still should have a GPS device for peace of mind. For a John Muir Trail thru-hike, I would recommend using the Gaia GPS App for navigating, and combining that with a Garmin inReach Messenger or Zoleo for satellite communication and SOS capabilities.
5) Trekking Poles – Though I don’t always use trekking poles when hiking, I definitely recommend them on a thru-hike of the John Muir Trail. Trekking poles will help you on all the elevation ups & downs along the JMT, and they can also be very useful on river crossings. My favorites are the Black Diamond Trail Pro Shock trekking poles, which have a snap lock and are super durable.
Be sure to check out my ultimate backpacking packing list for my entire list of gear recommendations!
DOWNLOAD OUR BACKPACKING PACKING CHECKLIST:
Never leave any crucial items behind before you head out on a backpacking trip! I’ve written down all the essentials here for you so that you’ll never forget anything vital. PLUS, I love to spoil my readers with a little bit extra as well, so I’ve included a list of 20+ of my favorite backpacking food snacks and meals inside of this list for inspiration.
Now that you’re armed with all this information about the JMT, hopefully you’re ready to stop dreaming about hiking the John Muir Trail and start planning to make it a reality!
MORE JOHN MUIR TRAIL RESOURCES
For even more in-depth info about specific aspects of hiking the JMT, head to the following posts!
LOOKING FOR MORE CALIFORNIA ADVENTURES?
If you are looking for additional California hiking adventures, check out our resources below:
Cheers,
Allison - She Dreams of Alpine


Backpacking the Trans-Catalina Trail in California | The Trans-Catalina Trail is a gorgeous trail where land meets the sea, set off the coast of the California mainland. So if you're looking for a hiking trail that is challenging but beautiful, "mountainous" but near the ocean, isolated feeling but still very close to civilization, then this is the perfect trail for you! It is one of a kind, and one you aren't likely to forget. | shedreamsofalpine.com